
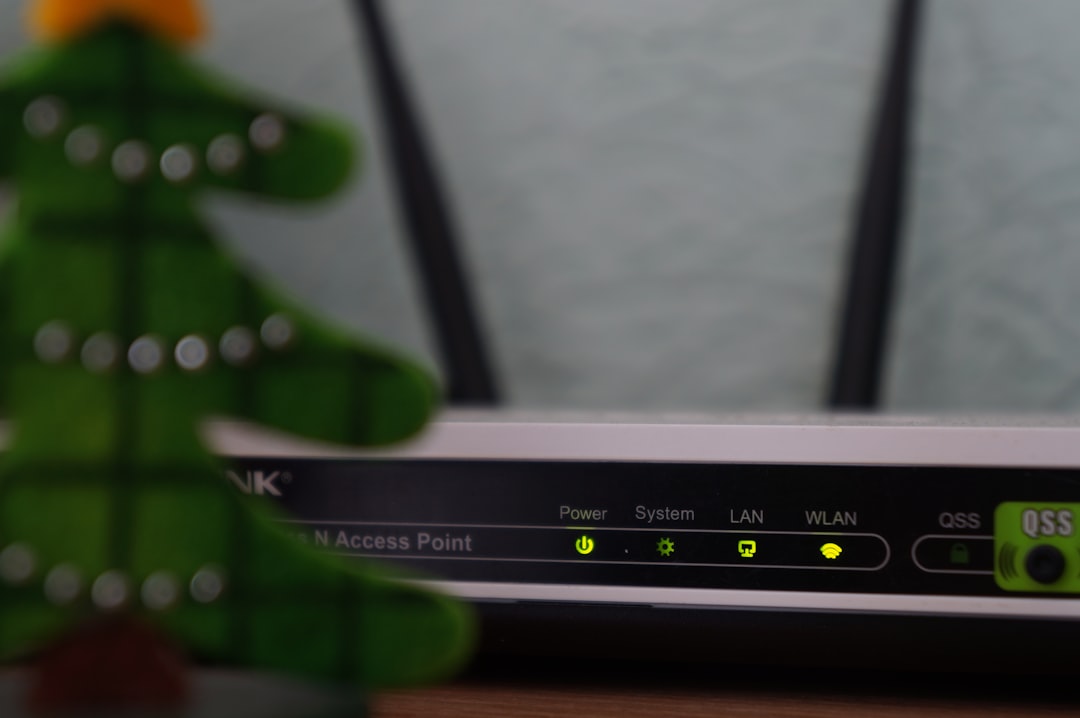
In today’s interconnected world, your home router isn’t just a device that brings the internet to your doorstep; it’s the primary guardian of your entire digital life. Every device in your home—your computers, smartphones, smart TVs, and even your smart refrigerator—connects through it. If your router isn’t properly secured, it’s like leaving your front door wide open, inviting anyone to snoop on your data, hijack your devices, or even launch attacks from your network. This comprehensive guide from Teknozof.com will walk you through essential steps to configure your router for better security, transforming it into a robust fortress against digital threats. By the end of this article, you’ll have a clear understanding of key security concepts and the practical knowledge to implement them, significantly enhancing your home network’s resilience.
What You’ll Need
- Your router (obviously!)
- A computer (desktop or laptop) or a smartphone/tablet
- An Ethernet cable (highly recommended for initial setup to ensure a stable connection)
- Your router’s administrative login credentials (default username/password, often found on a sticker on the router itself, or in its manual)
- A pen and paper or a digital note-taking app to record new passwords and settings
- A few minutes of focused time
Step 1: Access Your Router’s Administration Panel
Before you can fortify your network, you need to get inside the command center: your router’s web-based administration panel. This interface allows you to change all the settings that govern your network. It’s usually accessed via a web browser, much like visiting a website, but instead of a domain name, you’ll use your router’s IP address.
Instructions:
- Connect to your router: For the most stable and secure initial connection, plug your computer directly into one of your router’s LAN (Local Area Network) ports using an Ethernet cable. If you must use Wi-Fi, ensure you’re connected to your router’s network.
- Find your router’s IP address:
- On Windows: Open the Command Prompt (search “cmd”), type
ipconfig, and press Enter. Look for the “Default Gateway” IP address under your active network adapter (e.g., “Ethernet adapter Ethernet” or “Wireless LAN adapter Wi-Fi”). - On macOS: Go to System Settings (or System Preferences) > Network. Select your active connection (Wi-Fi or Ethernet), then click “Details” (or “Advanced”). The router’s IP address is listed as “Router.”
- On mobile (Android/iOS): Go to your Wi-Fi settings, tap on your connected network, and look for “Router,” “Gateway,” or “IP address.”
Common default IP addresses include
192.168.1.1,192.168.0.1,192.168.2.1, or10.0.0.1. - On Windows: Open the Command Prompt (search “cmd”), type
- Open a web browser: Launch your preferred browser (Chrome, Firefox, Edge, Safari).
- Enter the IP address: Type your router’s IP address into the browser’s address bar (where you usually type website URLs) and press Enter.
- Log in: You will be prompted for a username and password. Use the default credentials found on a sticker on your router, in the manual, or by searching online for your router’s model. Common defaults are
admin/admin,admin/password, oradmin/(blank). If you’ve changed them before and forgotten, you might need to factory reset your router (a small button often found on the back), which will revert all settings to default, including the login.
Common Mistake: Trying to access the router while connected to a different network (e.g., a VPN or another Wi-Fi network). Ensure you’re connected directly to your router.
Step 2: Change Default Login Credentials
This is arguably the most crucial security step. Default router usernames and passwords are well-known and easily found online. Leaving them unchanged is like handing the keys to your house to a complete stranger. Attackers regularly scan for routers using default credentials to gain unauthorized access, reconfigure settings, or launch malicious activities.
Instructions:
- Navigate to the security settings: Once logged into your router’s administration panel, look for sections like “Administration,” “Management,” “System Tools,” or “Security.”
- Find the account settings: Within these sections, search for options related to “Router Password,” “Login Credentials,” “Admin Account,” or “User Accounts.”
- Create strong credentials:
- Change the username: If possible, change the default username (often “admin” or “user”) to something unique that isn’t easily guessable.
- Change the password: Create a new, strong password. A strong password is at least 12-16 characters long, combines uppercase and lowercase letters, numbers, and special characters. Do NOT use easily guessable information like your name, pet’s name, or birthdate. Consider using a passphrase (e.g., “MySecureRouterIsAwesome!2023”) which is easier to remember but hard to crack.
- Save and re-login: Save your changes. You will likely be logged out and prompted to log back in using your new credentials. Record these new credentials in a safe place.
Common Mistake: Using a weak password, or forgetting the new password. Always write it down immediately!
Step 3: Update Router Firmware
Your router runs on specialized software called firmware. Just like the operating system on your computer or phone, router firmware can have vulnerabilities that attackers exploit. Manufacturers regularly release updates to patch these security flaws, improve performance, and add new features. Keeping your firmware up-to-date is vital for your router’s health and security.
Instructions:
- Identify your router model and current firmware version: In the admin panel, look for a “Status,” “System Info,” or “About” page. Note down your router’s exact model number and its current firmware version.
- Visit the manufacturer’s website: Go to your router manufacturer’s official support website (e.g., TP-Link, Netgear, Asus, Linksys).
- Search for firmware updates: Locate the support or download section for your specific router model. Download the latest available firmware file. Ensure you download the correct version for your hardware revision, as installing the wrong firmware can “brick” your router.
- Upload and install the firmware: Back in your router’s admin panel, look for “System Tools,” “Firmware Upgrade,” “Firmware Update,” or “Router Upgrade.” You’ll usually browse to the downloaded firmware file and initiate the update process.
- Do not interrupt: The update process can take several minutes. DO NOT turn off or disconnect your router during this time, as it can permanently damage the device. Your router will reboot automatically once the update is complete.
- Verify update: Log back in and check the firmware version to confirm it has updated successfully.
Common Mistake: Downloading firmware from unofficial sources, interrupting the power during an update, or neglecting updates entirely.
Step 4: Configure Strong Wi-Fi Security (WPA3/WPA2-PSK AES)
Your Wi-Fi network is the most common entry point for casual attackers into your home network. Ensuring it’s properly encrypted prevents unauthorized individuals from eavesdropping on your wireless traffic or connecting to your network without permission. Older encryption standards like WEP and WPA are highly vulnerable and should be avoided at all costs.
Instructions:
- Navigate to Wireless Settings: In your router’s admin panel, find sections like “Wireless,” “Wi-Fi Settings,” “Wireless Security,” or “Wireless Setup.” You might have separate settings for 2.4GHz and 5GHz bands; apply these changes to both.
- Select the strongest encryption type:
- WPA3-Personal (SAE): This is the latest and most secure standard. If your router and all your devices support it, choose this option.
- WPA2-PSK (AES): If WPA3 isn’t available, WPA2-Personal (often labeled WPA2-PSK) with AES encryption is the next best choice and widely compatible. Avoid TKIP, as it’s older and less secure. Some routers might offer “WPA2/WPA3 Mixed Mode” which can be a good intermediate option for compatibility.
- NEVER use WEP or WPA/WPA-PSK (TKIP).
- Set a strong Wi-Fi Passphrase: This is the password you use to connect devices to your Wi-Fi. Just like your router’s admin password, it needs to be long (at least 12-16 characters), complex, and unique. Consider a passphrase for easier memorization.
- Save changes: Apply the settings. Your Wi-Fi network will temporarily disconnect as the router reconfigures. You’ll need to reconnect all your devices using the new passphrase.
Common Mistake: Using WEP or WPA (TKIP) encryption, or choosing a weak, easily guessable Wi-Fi password.
Step 5: Change the Default Wi-Fi Network Name (SSID) and Consider Hiding It
Your router broadcasts a Service Set Identifier (SSID), which is the name of your Wi-Fi network (e.g., “Linksys0000,” “NETGEAR-HOME”). Changing this default name adds a small layer of obscurity, making it slightly harder for attackers to identify your router’s make and model and thus target known vulnerabilities specific to that device.
Instructions:
- Access Wireless Settings: Go back to the “Wireless” or “Wi-Fi Settings” section in your router’s admin panel.
- Change the SSID: Locate the field for “SSID,” “Network Name,” or “Wireless Network Name.” Change it to something unique and non-identifiable. Avoid using personal information (your name, address) or anything that reveals your router’s manufacturer or model. For instance, instead of “TP-Link_ABCD,” use “Teknozof_Network.”
- Consider hiding the SSID (Optional, with caveats): Most routers have an option called “Hide SSID,” “Disable SSID Broadcast,” or “Stealth Mode.” When enabled, your Wi-Fi network won’t appear in the list of available networks when devices scan.
- Pros: Makes your network less visible to casual snoopers.
- Cons: Doesn’t stop determined attackers, as they can still detect the hidden network. It also makes connecting new devices more cumbersome, as you’ll have to manually enter the SSID each time. For most home users, the security benefits are minimal, and the inconvenience can be high.
- Save and reconnect: Apply changes. You’ll need to reconnect your devices to the new network name (and manually enter the SSID if you chose to hide it).
Common Mistake: Leaving the default SSID, which often reveals the router’s brand and model, making it easier for attackers to find exploits. Over-relying on a hidden SSID for security; it’s a minor deterrent, not a strong security measure.
Step 6: Disable Remote Management (WAN Access)
Remote Management, also known as WAN Access or Remote Administration, allows you to access your router’s administration panel from outside your home network (i.e., over the internet). While this can be convenient for IT professionals, for most home users, it’s a significant security risk. If enabled, anyone on the internet could potentially try to access your router’s settings, especially if your admin credentials are weak or compromised.
Instructions:
- Locate Remote Management settings: In your router’s admin panel, look for sections like “Security,” “Administration,” “Remote Management,” “WAN Management,” or “Remote Access.”
- Disable remote management: Ensure this feature is disabled or set to “Local Only.” If you see options for specific IP addresses allowed for remote management, ensure there are none configured unless you absolutely know what you’re doing and need it.
- Save your changes.
Common Mistake: Leaving remote management enabled with default ports (like 8080 or 80) or with weak credentials, exposing your router to internet-based attacks.
Step 7: Harden Your Firewall and Manage Port Forwarding
Your router’s firewall acts as a digital bouncer, controlling which traffic is allowed into and out of your network. Most routers come with a basic firewall enabled by default, but it’s wise to ensure it’s configured for maximum protection. Port forwarding, while sometimes necessary for specific applications (like gaming servers or remote access to home devices), can open security holes if not managed carefully.
Instructions:
- Verify Firewall Status: Look for a “Firewall,” “Security,” or “Advanced Security” section in your router’s settings. Ensure the firewall is enabled. For most home users, the default settings (often referred to as SPI Firewall or NAT Firewall) are adequate. Avoid disabling it unless you have a very specific reason and understand the risks.
- Review Port Forwarding Rules: Find the “Port Forwarding,” “Virtual Servers,” or “NAT” section. Examine any existing rules. If you don’t recognize a rule or no longer use the application it was for, delete it. Each open port is a potential entry point for attackers.
- Understand UPnP (Universal Plug and Play): UPnP is a protocol that allows devices on your network to automatically open ports in your firewall for easy communication. While convenient, it can be a security risk as it bypasses manual control. Consider disabling UPnP in your router’s settings (usually under “Advanced” or “Network”) unless you have devices that absolutely require it (like some gaming consoles or media servers). If you disable it, you might need to manually set up port forwarding for those specific applications.
- Save changes: Apply any modifications you make to the firewall or port forwarding rules.
Common Mistake: Disabling the firewall, leaving unnecessary ports open via port forwarding, or relying blindly on UPnP for convenience at the expense of security.
Step 8: Change the Default LAN IP Address Range (Advanced/Optional)
Most routers use a common internal IP address range, such as 192.168.1.x or 192.168.0.x. While not a direct security vulnerability, changing this default range adds a minor layer of obscurity, making it slightly harder for certain types of automated attacks or malware to predict your network’s internal structure.
Instructions:
- Navigate to Network Settings: In your router’s admin panel, look for “LAN Settings,” “Network,” “DHCP Server,” or “IP Address Settings.”
- Change the Router’s IP Address: The router’s IP address (e.g.,
192.168.1.1) is usually the “Default Gateway” your devices use. Change this to an address in a less common private range, such as10.0.0.1,172.16.0.1, or even192.168.100.1. Ensure the new IP is within a valid private IP range (10.0.0.0 – 10.255.255.255, 172.16.0.0 – 172.31.255.255, 192.168.0.0 – 192.168.255.255). - Adjust DHCP Range: If you change the router’s IP address, you’ll also need to adjust the DHCP (Dynamic Host Configuration Protocol) server’s range. The DHCP server automatically assigns IP addresses to devices on your network. Ensure this range corresponds to your new router IP (e.g., if your router is
10.0.0.1, the DHCP range could be10.0.0.100to10.0.0.200). - Save and reconnect: Saving these changes will likely cause all your connected devices to lose their network connection temporarily as they request new IP addresses from the router. You’ll also need to use the NEW router IP address to access the admin panel from now on.
Common Mistake: Forgetting the new IP address of the router, or setting an invalid DHCP range that conflicts with the router’s new IP. Always record your changes!
Common Mistakes to Avoid
While configuring your router, it’s easy to overlook crucial steps or make common blunders that can undermine your efforts:
- Not changing default login credentials: This is the absolute weakest link. Always change the default username and password immediately.
- Using weak Wi-Fi passwords: A strong password is your first line of defense against unauthorized Wi-Fi access. Don’t use personal info or dictionary words.
- Neglecting firmware updates: Outdated firmware is a goldmine for attackers, containing known vulnerabilities that can be easily exploited.
- Leaving remote management enabled: Unless you absolutely need it and know how to secure it, disable remote access to your router’s administration panel from the internet.
- Excessive or unnecessary port forwarding: Every open port is a potential entry point. Only forward ports for services you actively use and understand.
- Using outdated Wi-Fi security protocols: WEP and WPA (TKIP) are easily cracked. Always use WPA2-PSK (AES) or WPA3-Personal.
- Over-relying on a hidden SSID: Hiding your Wi-Fi name offers minimal security and can be inconvenient. Focus on strong encryption and passwords instead.
Tips and Tricks
Beyond the essential steps, here are some additional measures to further bolster your home network security:
- Enable a Guest Network: Most modern routers offer a guest Wi-Fi network feature. Enable it and provide its credentials to visitors. This isolates your guests from your main network, preventing them from accessing your shared files or devices.
- Disable WPS (Wi-Fi Protected Setup): WPS is a convenient feature that allows you to connect devices with a push of a button or a short PIN. However, the PIN method has a known security flaw that makes it vulnerable to brute-force attacks. Disable it in your router settings if not in use.
- Consider MAC Address Filtering (with caution): This feature allows you to specify which devices (based on their unique MAC address) can connect to your Wi-Fi. While it adds a layer of access control, it’s not a strong security measure as MAC addresses can be spoofed by determined attackers. It’s more about preventing casual connections than thwarting sophisticated attacks.
- Regularly review connected devices: Periodically check your router’s “Attached Devices” or “Client List” to identify any unfamiliar devices connected to your network.
- Physical Security: Your router is a physical device. Keep it in a secure location where unauthorized individuals (or even curious children) can’t easily access the reset button or view its default credentials.
- Use a Password Manager: Store your router’s admin credentials and Wi-Fi passphrase in a secure password manager. This helps you create and remember strong, unique passwords for all your accounts.
- Stay Informed: Keep an eye on security news for your router’s brand and model. New vulnerabilities are discovered regularly.
Frequently Asked Questions
Should I enable MAC address filtering on my router?
MAC address filtering can provide a minor layer of access control, allowing only pre-approved devices to connect to your network. However, it’s not a robust security measure because MAC addresses can be spoofed. While it might deter a casual snoop, a determined attacker can bypass it. For most home users, focusing on strong WPA2/WPA3 encryption and a complex Wi-Fi passphrase offers better security with less hassle.
Is it safe to use WPS (Wi-Fi Protected Setup)?
Generally, it’s recommended to disable WPS on your router. The PIN-based method of WPS has a well-known vulnerability that allows attackers to brute-force the 8-digit PIN in a matter of hours. This means they could gain access to your Wi-Fi network without knowing your strong Wi-Fi passphrase. Unless you absolutely need it for a specific device, turning off WPS enhances your network’s security.
How often should I update my router’s firmware?
There isn’t a fixed schedule, but a good practice is to check for firmware updates quarterly or whenever you become aware of new security vulnerabilities or feature enhancements from your router’s manufacturer or technology news outlets. Don’t wait for your router to tell you; proactively visit your manufacturer’s support website to ensure you’re running the latest, most secure version.
Conclusion
Congratulations! You’ve taken significant steps to secure the digital gateway to your home. By changing default credentials, updating firmware, and configuring robust Wi-Fi security, you’ve transformed your router from a potential weak point into a strong first line of defense against cyber threats. Remember, security is an ongoing process, not a one-time setup. Regularly check for firmware updates, review your settings, and stay informed about new security best practices. Your proactive efforts will help keep your personal data safe, your smart devices secure, and your online experience private. Keep learning, stay vigilant, and enjoy a more secure home network!
Photo by Misha Feshchak on Unsplash


