
Network segmentation is a cornerstone of modern IT security and performance. By splitting a single physical network into multiple virtual LANs (VLANs), you can isolate traffic, limit broadcast domains, and enforce policy per department or device type. Whether you’re protecting sensitive finance traffic from guest Wi‑Fi or simply reducing congestion, a properly configured managed switch makes VLANs painless and powerful. This guide walks you through the entire process— from logging into the switch console to verifying that each VLAN behaves as expected— using real‑world commands for Cisco IOS and generic web‑GUI steps. We’ll also flag common mistakes, share pro tips, and answer the questions you’re likely to ask along the way.
What You’ll Need
- A managed switch that supports VLANs (Cisco, Netgear, TP‑Link, etc.)
- Administrator credentials for the switch
- Console cable or SSH/Telnet access
- Basic IP addressing plan for each VLAN
- A laptop or workstation with a terminal emulator (PuTTY, Tera Term, or similar)
Step 1: Access the Switch Management Interface
Before you can configure anything, you need a reliable management session. For most enterprise switches, SSH is preferred over Telnet because it encrypts traffic. Open your terminal emulator and connect to the switch’s IP address:
ssh admin@192.168.1.10
If the switch only offers a console port, plug in the RJ‑45 console cable, launch your emulator, and set the serial parameters to 9600 bps, 8‑N‑1, no flow control. Once logged in, you’ll see the privileged EXEC prompt (e.g., Switch#). Enter global configuration mode to start making changes:
Switch# configure terminal
On switches with a web GUI, point your browser to the management IP, log in, and navigate to the “VLAN” or “Network” section. The steps below mirror both CLI and GUI paths where applicable.
Step 2: Define the VLANs You Need
The first logical step is to create the VLAN objects themselves. In Cisco IOS, each VLAN gets a numeric ID (1‑4094) and an optional name. For example, to create a VLAN for the finance department (ID 10) and one for guest Wi‑Fi (ID 20):
Switch(config)# vlan 10
Switch(config-vlan)# name Finance_VLAN
Switch(config-vlan)# exit
Switch(config)# vlan 20
Switch(config-vlan)# name Guest_WiFi
Switch(config-vlan)# exit
If you’re using a GUI, look for a “Create VLAN” button, enter the VLAN ID, and give it a descriptive label. Remember to reserve VLAN 1 for default management traffic only; many best‑practice guides recommend moving management IPs off VLAN 1 to avoid accidental exposure.
Step 3: Assign Access Ports to Their Respective VLANs
Access ports are the switch ports that connect to end devices— PCs, printers, IP cameras, etc. Each access port should belong to a single VLAN. In CLI, you select the interface and set its mode to access, then bind it to the VLAN:
Switch(config)# interface gigabitEthernet0/1
Switch(config-if)# switchport mode access
Switch(config-if)# switchport access vlan 10
Switch(config-if)# description Finance Workstation
Switch(config-if)# exit

Switch(config)# interface gigabitEthernet0/2
Switch(config-if)# switchport mode access
Switch(config-if)# switchport access vlan 20
Switch(config-if)# description Guest Wi‑Fi AP
Switch(config-if)# exit
In the web GUI, you’ll typically click a port, select “Access” mode, and choose the VLAN from a dropdown list. Be sure to disable “Voice VLAN” or other special features unless you explicitly need them, as they can unintentionally tag traffic.
Step 4: Configure Trunk Ports for Inter‑VLAN Routing
Trunk ports carry traffic for multiple VLANs between switches or to a router that performs inter‑VLAN routing (often called a “Layer 3” device). Set the port to trunk mode and specify which VLANs are allowed:
Switch(config)# interface gigabitEthernet0/24
Switch(config-if)# switchport mode trunk
Switch(config-if)# switchport trunk allowed vlan 10,20
Switch(config-if)# switchport trunk native vlan 1
Switch(config-if)# description Uplink to Core Switch
Switch(config-if)# exit
The native vlan is the untagged VLAN on the trunk; keeping it at 1 is safe unless you have a specific reason to change it. For non‑Cisco gear, the terminology may be “tagged” vs “untagged”, but the concept remains the same.
Step 5: Verify VLAN Configuration and Connectivity
After you’ve built the VLAN topology, validation is crucial. Use the following commands to confirm that VLANs exist and ports are correctly assigned:
Switch# show vlan brief
Switch# show interfaces status
Switch# show running-config | include vlan|switchport
Look for entries that list each VLAN ID, its name, and the ports associated with it. Next, test connectivity from a device in each VLAN. From a finance workstation, ping the default gateway of the Finance VLAN (e.g., 10.10.10.1). From a guest device, ping the Guest VLAN gateway (e.g., 192.168.20.1). If pings fail, double‑check the port mode, VLAN IDs, and that the router’s sub‑interfaces are correctly configured for each VLAN.
Step 6: Save the Configuration and Document Changes
CLI‑based switches do not automatically write changes to flash memory. To make your VLAN setup survive a reboot, issue:
Switch# write memory
%Completed successfully.
Or on newer Cisco IOS versions:
Switch# copy running-config startup-config
In a GUI, look for a “Save” or “Apply” button, then confirm that the configuration is persisted after a power cycle. Finally, update your network documentation: list VLAN IDs, purpose, IP subnets, and which ports belong where. Good documentation prevents future confusion and speeds up troubleshooting.
Common Mistakes to Avoid
Even seasoned admins slip up when rolling out VLANs. Here are the most frequent pitfalls and how to dodge them:
- Using VLAN 1 for user traffic. VLAN 1 is the default management VLAN and is often targeted by attackers. Keep it empty or reserve it for infrastructure.
- Mismatched trunk configurations. If one switch allows VLAN 10,20 but the neighboring switch only permits VLAN 10, traffic on VLAN 20 will be dropped silently.
- Forgetting to set the port mode. A port left in “dynamic auto” may negotiate as a trunk when you intended an access port, causing double‑tagging issues.
- Neglecting to configure native VLANs consistently. Different native VLANs on each side of a trunk create untagged traffic that can be misrouted.
- Not updating DHCP scopes. After creating a new VLAN, you must add a corresponding DHCP pool or static IP plan; otherwise devices will receive “IP address not available” errors.
Tips and Tricks
Boost your VLAN workflow with these pro tips:
- Use a naming convention. Prefix VLAN names with the department or function (e.g.,
FIN‑VLAN,HR‑VLAN) to make audits easier. - Leverage VLAN ranges. Reserve a block of IDs for future expansion (e.g., 100‑199 for corporate, 200‑299 for guest).
- Enable VLAN pruning. On larger trunks, prune unused VLANs to reduce unnecessary broadcast traffic.
- Document with screenshots. Capture the GUI’s VLAN table after each change; visual records speed up peer reviews.
- Test with a packet capture. Use a laptop with Wireshark connected to a trunk port to confirm that frames are correctly tagged.
Frequently Asked Questions
Do I need a Layer 3 switch to route between VLANs?
No. You can use a separate router or a Layer 3 switch to perform inter‑VLAN routing. The key is to have a “router on a stick” (single physical link with sub‑interfaces) or a dedicated Layer 3 switch that has SVIs (Switched Virtual Interfaces) for each VLAN.
Can I assign the same VLAN ID on two different switches?
Absolutely. VLAN IDs are globally meaningful only when you connect switches via trunks. Consistent IDs across the fabric ensure that traffic stays in the same logical network regardless of the physical path.
What happens if I assign a port to a VLAN that doesn’t exist?
The switch will automatically create the VLAN in a dormant state (no ports assigned) on Cisco devices, but traffic will be dropped. Always verify the VLAN exists before binding ports.
Conclusion
Configuring VLANs on a managed switch is a systematic process that, when done correctly, delivers stronger security, cleaner traffic flows, and easier network management. By following the six steps—accessing the switch, defining VLANs, assigning ports, setting up trunks, verifying everything, and saving your work—you’ll create a robust segmented environment that scales with your organization’s needs. Remember to avoid common mistakes, apply the handy tips, and keep your documentation up to date. With this knowledge in hand, you’re ready to segment networks like a pro and keep your data flowing where it belongs.
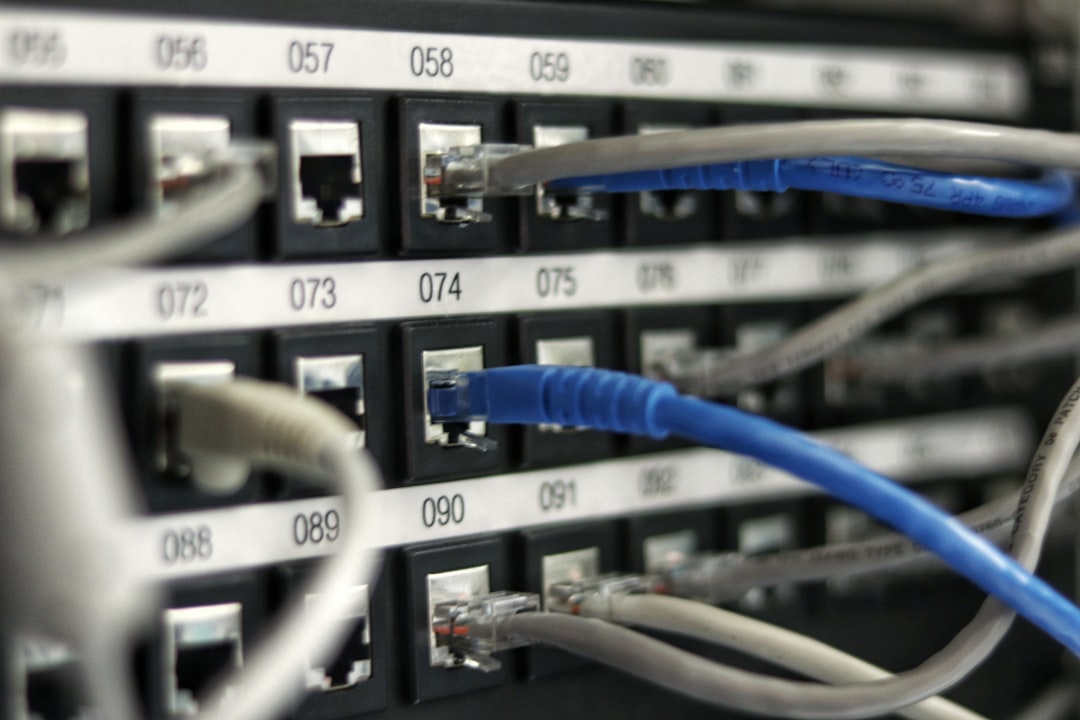
Photo by Jordan Harrison on Unsplash