
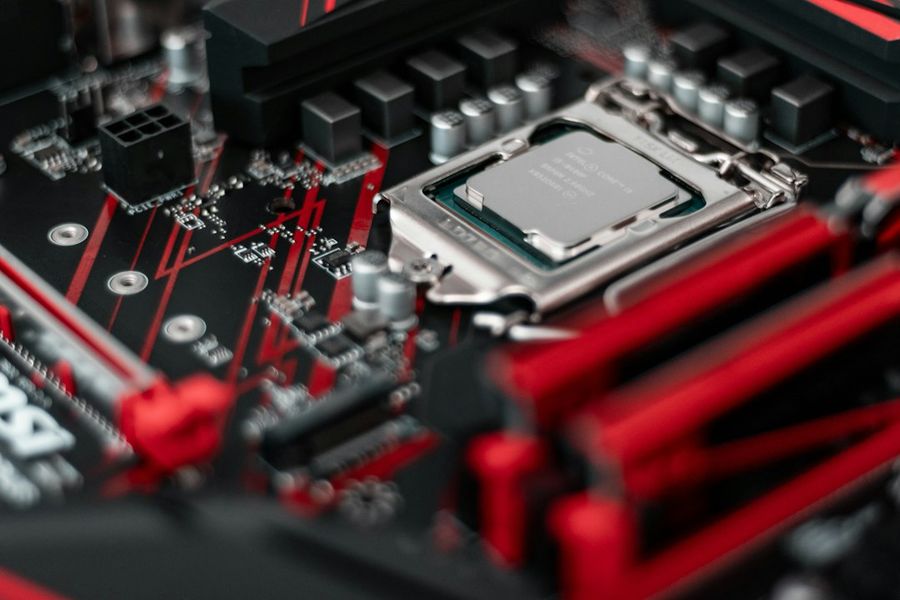
Updating your motherboard’s BIOS (Basic Input/Output System) can unlock new CPU support, improve system stability, and patch critical security flaws. But a botched flash can render a machine unbootable, so it’s essential to follow a disciplined, well‑documented process. This guide walks you through every stage of a safe BIOS upgrade, from preparation to verification, with real commands, common mistakes to sidestep, and a handful of pro tips that will keep your PC humming after the flash.
What You’ll Need
- A stable power source – preferably an uninterruptible power supply (UPS) to guard against outages.
- Exact motherboard model number (e.g., ASUS ROG STRIX B550‑F Gaming).
- Manufacturer’s BIOS file for your specific board and revision.
- A USB flash drive (minimum 8 GB, formatted FAT32).
- Windows 10/11 or a Linux live environment with admin rights.
- Backup utilities: a BIOS backup tool (often built into the BIOS) and a file‑hash program (e.g.,
certutilon Windows ormd5sumon Linux). - Patience and a clear desk – no coffee spills.
Step 1: Identify Your Motherboard Model and Current BIOS Version
Before you download anything, you need to know exactly which board you own and which BIOS revision is currently installed. In Windows, open System Information (type msinfo32 in the Run dialog). Look for “BaseBoard Product” and “BIOS Version/Date.” Write these down.
On Linux, run:
sudo dmidecode -t baseboard | grep "Product Name"
sudo dmidecode -t bios | grep "Version"
Note the revision string (e.g., 1205). Some manufacturers release multiple BIOS builds for the same board; you must match the exact model and revision to avoid incompatibility.
Step 2: Download the Correct BIOS Package
Visit the official support page for your motherboard (ASUS, Gigabyte, MSI, etc.). Locate the BIOS tab, select the latest version that explicitly lists support for your CPU or fixes you need, and download the ZIP archive.
Do not rely on third‑party sites; they may host tampered files. Once downloaded, extract the package to a folder on your desktop. You should see a .ROM or .CAP file, a read‑me document, and sometimes a flashing utility.
Step 3: Verify BIOS Integrity
Manufacturers usually publish an MD5 or SHA‑256 checksum alongside the download link. Open a command prompt (run as Administrator) and compute the hash of the extracted BIOS file:
certutil -hashfile "C:UsersYourNameDesktopBIOSbios_update.CAP" SHA256
Compare the output with the checksum on the vendor’s page. A mismatch means the file is corrupted or altered – abort the process and re‑download.
Linux users can run:
sha256sum ~/Desktop/BIOS/bios_update.CAP
Step 4: Create a BIOS Backup
Most modern UEFI firmware includes a built‑in backup option. Reboot and press the BIOS entry key (usually Del, F2, or Esc). Navigate to Advanced → BIOS Utilities → Save BIOS to File (or similar). Save the backup to your USB drive and label it clearly, e.g., BIOS_Backup_2024_10_17.bin. Keep this file for at least a month after the flash; it’s your safety net if the new BIOS misbehaves.
If the board lacks a backup feature, you can use a third‑party tool like NirSoft BIOS Backup from within Windows. Run the executable and follow the prompts to dump the current firmware to a file.
Step 5: Prepare a Bootable USB Flash Drive
Many manufacturers provide a Windows‑based flashing utility that runs from within the OS, but the safest route is a DOS‑based flash from a USB stick. This isolates the process from the running OS and reduces the chance of interference.
Download Rufus (portable version). Launch it, select your USB drive, choose FreeDOS as the bootable image, and click Start. Once Rufus finishes, copy the BIOS file and the flashing utility (often AFU.exe for ASUS, Q-Flash.exe for Gigabyte, etc.) to the root of the USB drive.
For Linux fans, the dd command works as well:
sudo dd if=/usr/lib/syslinux/mbr/mbr.bin of=/dev/sdX bs=440 count=1 conv=notrunc
sudo cp /usr/lib/syslinux/ldlinux.c32 /mnt/usb/
Replace /dev/sdX with your USB device identifier.
Step 6: Flash the BIOS
With the USB prepared, reboot the PC and enter the BIOS again. Change the boot order so the USB drive is first, then save and exit. The system will boot into FreeDOS.
At the A:> prompt, type the command that matches your vendor’s utility. Examples:
- ASUS:
AFUWINx64.exe BIOS_UPDATE.CAP /PN - Gigabyte:
QFlash.exe -f BIOS_UPDATE.F4 - MSI:
MSIFlash.exe BIOS_UPDATE.ROM
The /PN flag (for ASUS) tells the utility to “Preserve NVRAM” – a handy option that keeps your custom boot order and overclock settings intact.
Watch the progress bar carefully. Do not power off, reset, or press any keys until the utility reports “Flash completed successfully” and the system reboots automatically.
Step 7: Verify the Update and Reset Settings
After the reboot, re‑enter the BIOS and confirm the version number matches the one you installed. It’s a good habit to load the default optimized settings (often found under Save & Exit → Load Optimized Defaults) and then re‑apply any custom tweaks you had before.
If you notice abnormal behavior (random freezes, POST failures, missing hardware), you can revert to the backup you saved in Step 4. Most UEFI menus include a “Restore BIOS from File” option – point it at your .bin backup and let the firmware rewrite the old image.
Step 8: Final System Checks
Boot into your operating system and run a quick hardware inventory to ensure everything is recognized:
- Windows:
msinfo32– verify CPU, RAM, and storage devices. - Linux:
lshw -shortorinxi -Fxz.
Run a stress test (e.g., PassMark BurnInTest or stress -c 4 -t 60 on Linux) for 10‑15 minutes to confirm stability. If the system passes without crashes, congratulations – you’ve successfully upgraded your BIOS.
Common Mistakes to Avoid
Even seasoned techies slip up. Here are the most frequent pitfalls and how to sidestep them:
- Downloading the wrong BIOS: Always double‑check the exact motherboard model and revision. A mismatch can brick the board.
- Skipping checksum verification: A corrupted file will cause the flash to abort or, worse, flash an incomplete image.
- Flashing without a UPS: A brief power dip during the write can corrupt the firmware.
- Interrupting the flash: Pressing Esc, resetting, or shutting down mid‑flash is a one‑way ticket to a dead motherboard.
- Neglecting to back up the existing BIOS: Without a backup, recovery becomes far more involved (often requiring a hardware programmer).
- Using the wrong USB format: The drive must be FAT32; NTFS is not recognized by most BIOS flash utilities.
Tips and Tricks
These extra steps can make the process smoother and give you a safety cushion:
- Enable “BIOS Flashback” if your board supports it: Some ASUS and Gigabyte models have a dedicated USB port that can flash the BIOS even with no CPU installed. Follow the vendor’s manual for the exact procedure.
- Clear CMOS after flashing: Resetting the CMOS (using the jumper or removing the battery for 30 seconds) can clear lingering settings that conflict with the new firmware.
- Document the process: Take screenshots or notes of each BIOS screen; they’re invaluable if you need to troubleshoot later.
- Keep an old BIOS version on a separate USB: In case a future update introduces a bug, you can revert without hunting down the file again.
- Use a dedicated flashing utility when available: Manufacturer tools are optimized for their hardware and often include extra safety checks.
Frequently Asked Questions
Will flashing the BIOS void my warranty?
Most manufacturers consider a BIOS update a supported maintenance action, provided you use the official firmware. However, if you flash a modified or unofficial version, you may void the warranty. Always stick to the vendor’s official releases.
Can I flash the BIOS from within Windows?
Yes, many vendors ship Windows‑based utilities (e.g., ASUS EZ Flash, MSI Live Update). While convenient, they run in a full OS environment, which introduces a higher risk of interruption. For maximum safety, use the DOS/UEFI method described in Step 6.
What if the PC refuses to boot after the update?
First, try clearing the CMOS (jumper or battery removal). If that doesn’t help, re‑flash the backup BIOS you saved in Step 4 using the same USB method. In rare cases, the board may need a hardware programmer, which is a service most local PC repair shops can provide.
Conclusion
Upgrading your PC’s BIOS is a powerful way to keep your system compatible with the latest CPUs, improve performance, and patch security holes. By following the eight‑step workflow outlined above—identifying the exact board, verifying downloads, backing up the existing firmware, and flashing from a clean USB environment—you minimize the risk of a failed update and protect your hardware investment. Remember, preparation is the difference between a seamless upgrade and a dreaded brick. Happy flashing, and enjoy the newfound stability and features your refreshed BIOS brings!
Photo by Christian Wiediger on Unsplash


