Upgrading your PC’s hardware is one of the fastest ways to squeeze more frames per second, lower latency, and enjoy newer titles at higher settings. Even if you’ve never opened a computer case before, this guide will walk you through every step— from planning your purchase to testing the final result— in a conversational yet authoritative tone. By the end, you’ll know exactly what to buy, how to install it, and how to avoid the most common pitfalls.
What You’ll Need
- A Phillips‑head screwdriver (preferably magnetic)
- Anti‑static wrist strap or a grounded surface
- Thermal paste (if your CPU cooler doesn’t come with pre‑applied paste)
- Compressed air canister for dust removal
- Software tools: CPU‑Z, GPU‑Z, HWMonitor, and your motherboard’s BIOS update utility
- Patience and a clean, well‑lit workspace
Step 1: Assess Your Current System and Set Goals
Before you buy anything, open your case (or use a system information tool) to note the existing components: CPU model, RAM amount, GPU, power supply wattage, and motherboard socket type. Write these down in a simple table. Then decide what you want to achieve— for example, “run Cyberpunk 2077 at 1080p, Ultra, 60 FPS.” This goal will dictate which parts need the biggest boost. Typically, the GPU provides the biggest performance jump for gaming, followed by the CPU and RAM.
Step 2: Choose Compatible Components
Use the information you gathered to select new hardware that fits your platform. Key compatibility checks:
- CPU: Match the socket (e.g., LGA 1700 for Intel 12th‑Gen) and ensure the motherboard BIOS supports the new processor. If you’re moving to a newer generation, you may need a BIOS flash.
- GPU: Verify that your power supply (PSU) has enough wattage and the required PCIe power connectors (6‑pin, 8‑pin). Most modern cards use PCIe 4.0, but they are backward compatible with PCIe 3.0 slots.
- RAM: Check the motherboard’s supported speed (e.g., DDR4‑3200) and maximum capacity. Dual‑channel kits (2×8 GB) give better performance than a single 16 GB stick.
- Storage: If you’re still on a HDD, consider adding an NVMe SSD for faster load times. Ensure your motherboard has an M.2 slot that supports NVMe.
- Cooling: Higher‑performance CPUs often need better cooling. Verify that your case can accommodate the cooler’s height.
Step 3: Prepare Your Workspace and Ground Yourself
Static electricity can damage delicate components. Plug an anti‑static wrist strap to a grounded metal part of the case, or regularly touch the metal chassis to discharge static. Lay out all new parts on a non‑conductive surface, and keep the original components nearby in case you need to revert.
Step 4: Install the New CPU and Cooler
1. Remove the existing CPU cooler by unscrewing the mounting bracket and gently disconnecting the fan cable.
2. Unlock the CPU socket lever, lift the old processor, and set it aside.
3. Align the notches on the new CPU with the socket and place it gently— never force it.
4. Lower the socket lever to secure the CPU.
5. If your cooler requires a backplate, attach it now. Apply a pea‑sized dot of thermal paste in the centre of the CPU (or use the pre‑applied paste).
6. Mount the cooler according to the manufacturer’s instructions, tightening screws in a diagonal pattern to ensure even pressure.
7. Reconnect the fan’s 4‑pin PWM cable to the CPU_FAN header on the motherboard.
Step 5: Upgrade the Graphics Card
1. Power down the PC, unplug the power cord, and press the power button for a few seconds to discharge capacitors.
2. Open the side panel and locate the existing GPU. Unscrew the bracket screws that hold it to the case.
3. Release the PCIe slot latch (usually a small lever at the end of the slot) and carefully pull the card out.
4. If the new GPU is larger, you may need to remove additional expansion slot covers.
5. Insert the new GPU into the same PCIe x16 slot, ensuring the gold contacts are fully seated. Press down until the latch clicks.
6. Secure the bracket screws, then connect the required 6‑pin/8‑pin power connectors from the PSU.
7. Close the case, reconnect all cables, and power on the system.
Step 6: Update BIOS, Drivers, and Test Performance
Once Windows boots, download the latest BIOS for your motherboard from the manufacturer’s website. Follow the on‑screen instructions— most modern boards support “EZ Flash” directly from the BIOS menu. After the BIOS update, install the latest graphics driver from NVIDIA or AMD, and update chipset drivers. Use CPU‑Z and GPU‑Z to verify that the new hardware is recognized at the correct clock speeds. Finally, run a benchmark (e.g., 3DMark Time Spy) or launch your target game and compare the FPS with your pre‑upgrade numbers.
Common Mistakes to Avoid
• Skipping the power check: Installing a 300 W PSU with a 750 W GPU will cause random reboots.
• Forgetting to reset the BIOS: New CPUs sometimes need a CMOS clear to be detected.
• Improper thermal paste application: Using too much paste creates an insulating layer; too little leads to hotspots.
• Not securing the GPU: A loosely seated card can cause artifacting or system crashes.
• Neglecting cable management: Poor airflow can raise temperatures, negating the performance gains.
Tips and Tricks
• Use HWMonitor to keep an eye on temperatures; aim for CPU < 80 °C and GPU < 85 °C under load.
• Enable XMP (or DOCP for AMD) in the BIOS to run your RAM at its advertised speed.
• If you’re on a tight budget, consider a “GPU‑only” upgrade first— a solid mid‑range card (e.g., RTX 3060) often yields >50 % FPS gain.
• Keep your drivers up to date, but avoid “beta” drivers unless you need a specific game fix.
• After the upgrade, run a quick msinfo32 check to confirm all components are listed correctly.
Frequently Asked Questions
Do I need to reinstall Windows after a hardware upgrade?
Usually not. Windows 10/11 is good at handling new GPUs and CPUs. However, if you change from an AMD to an Intel CPU (or vice‑versa), a fresh install is recommended to avoid driver conflicts.
Can I reuse my old CPU cooler?
If the cooler supports the new socket and can handle the CPU’s TDP, you can reuse it. Otherwise, invest in a cooler rated for the new processor’s heat output.
How much RAM do I really need for modern games?
Most titles run smoothly with 16 GB of DDR4/DDR5 RAM. If you stream while gaming, 32 GB provides a comfortable buffer.
Conclusion
Upgrading your PC for gaming doesn’t have to be intimidating. By following this beginner‑friendly, step‑by‑step guide— from assessing your current build to testing the final performance— you’ll unlock smoother gameplay, higher resolutions, and a longer‑lasting system. Remember to double‑check compatibility, handle components with care, and keep your drivers fresh. Happy gaming, and enjoy the newfound power of your upgraded rig!
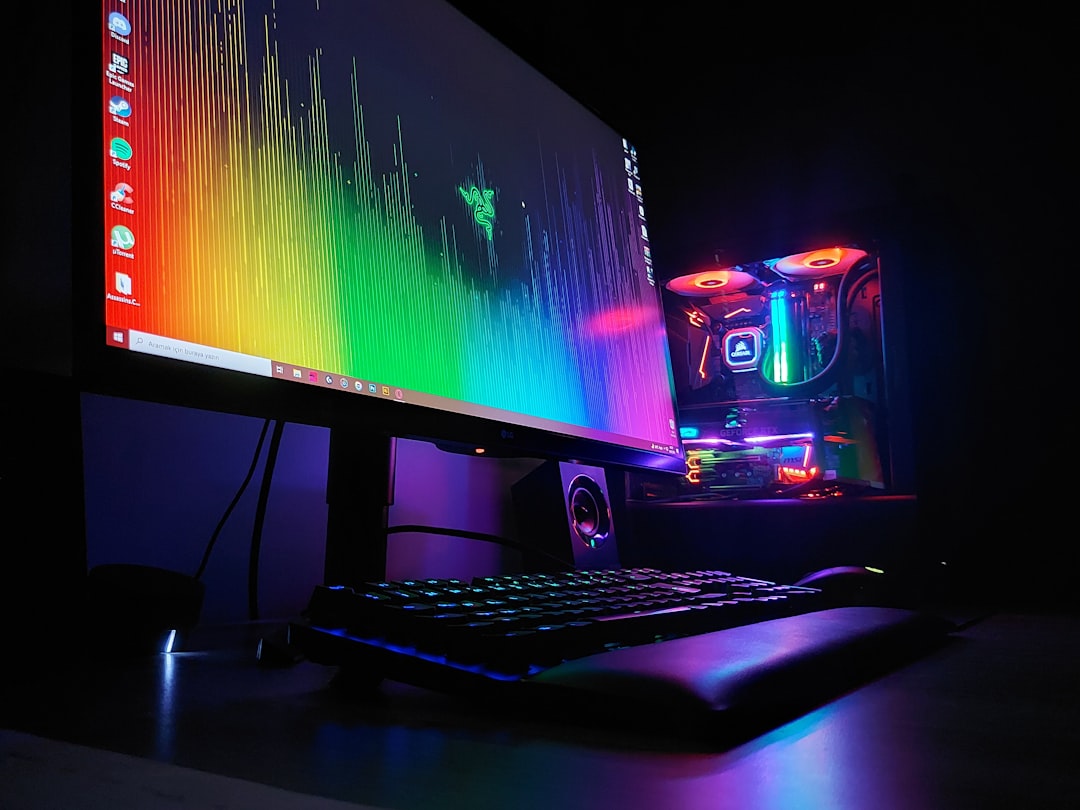
Photo by Resul Kaya on Unsplash