
When your Linux machine loses connectivity, the first instinct is to blame the hardware or the ISP. In reality, most network hiccups stem from misconfigurations that can be diagnosed and fixed with a handful of powerful command‑line tools. This guide walks you through a systematic approach to troubleshooting network issues on Linux, from inspecting your IP stack to sniffing traffic and verifying DNS resolution. You’ll see real commands, common pitfalls, and practical tips that will turn a frustrating outage into a quick, painless fix. By the end, you’ll feel confident turning the terminal into your network detective’s magnifying glass.
What You’ll Need
- A Linux system with sudo privileges
- Basic knowledge of the terminal
- Internet access for external tests
- Optional: a spare device for cross‑checking connectivity
Step 1: Verify Your IP Configuration
Start by checking that your network interface has a valid IP address and that the interface is up. Run:
ip addr show
Look for the inet line under the interface you’re using (e.g., eth0 or wlan0). A missing or link/ether only line indicates the interface isn’t assigned an address. If you see a link‑down state, the cable might be unplugged or the Wi‑Fi radio disabled. You can bring the interface up with:
sudo ip link set dev eth0 up
Replace eth0 with the name of your interface. If the interface is correctly configured, you should see a valid inet address and the state marked as UP.
Step 2: Test Basic Connectivity with Ping
Ping is the simplest way to confirm whether your machine can reach another host. Try pinging the default gateway first:
ping -c 4 192.168.1.1
If you get responses, the link to the router is alive. Next, ping an external IP to rule out DNS problems:
ping -c 4 8.8.8.8
Successful replies mean the network stack and routing are functional. If you see packet loss or no response, check your cable, switch, or the router’s status lights. A common mistake is using the wrong interface for ping; specify the interface explicitly with -I if you have multiple NICs:
ping -I eth0 -c 4 8.8.8.8
Step 3: Trace the Path with Traceroute
When ping works but you still can’t reach a website, the issue might be deeper in the path. Use traceroute to see each hop:
traceroute -I -c 4 example.com
The -I flag forces ICMP packets, which are less likely to be filtered. Watch where the trace stops; a missing hop usually points to a router or firewall blocking ICMP or blocking the destination port. If the trace fails after the first hop, your local router is dropping packets.
Step 4: Inspect the Routing Table
Routing determines where packets leave your machine. View the table with:
ip route show
Look for a default route (marked with default via). If it’s missing or points to the wrong gateway, add or correct it:
sudo ip route add default via 192.168.1.1 dev eth0
Also check that the metric values make sense; a lower metric takes precedence. A common mistake is having multiple default routes with conflicting metrics, causing the system to send traffic through a dead interface.
Step 5: Capture Traffic with Tcpdump
When you suspect packet loss or a firewall, sniff the traffic. Install tcpdump if it’s not already present:
sudo apt install tcpdump
Capture packets on your interface while pinging an external host:
sudo tcpdump -i eth0 icmp and host 8.8.8.8
Observe the output: you should see ICMP echo request and echo reply packets. If only requests appear, replies are being dropped somewhere. Filter by port numbers to debug services like SSH:
sudo tcpdump -i eth0 port 22
Remember to stop tcpdump with Ctrl+C when finished.
Step 6: Verify DNS with Dig and Nslookup
If you can reach IP addresses but not domain names, the problem is DNS. Test with dig:
dig example.com
Check the ANSWER SECTION for an IP address. If dig fails, try nslookup for a quick fallback:
nslookup example.com 8.8.8.8
These commands also reveal which DNS server is being queried. If you see an empty answer or a timeout, ensure the /etc/resolv.conf file lists a reachable nameserver, or use systemd-resolve --status if your system uses systemd‑resolved.
Common Mistakes to Avoid
1. Assuming the network is up when the interface is down: Always check ip addr before pinging.
2. Using the wrong interface for multi‑NIC setups: Specify -I with the correct device.
3. Ignoring firewall rules: A local iptables or ufw rule can silently block traffic.
4. Misreading traceroute output: Asterisks (*) indicate packet loss; not all hops will respond.
5. Assuming DNS is the issue when IP works: Verify DNS with dig before changing resolvers.
Tips and Tricks
• Use systemd-resolve --status to see the active DNS server and caching status.
• Add options timeout:2 to /etc/resolv.conf to reduce DNS query delays.
• Leverage netstat -rn for a quick routing table snapshot if ip route is unfamiliar.
• When troubleshooting Wi‑Fi, iwconfig and iwlist scan help verify signal strength and channel interference.
• Save tcpdump output to a file with -w for later analysis: sudo tcpdump -i eth0 -w capture.pcap.
Frequently Asked Questions
Why does ping work but I can’t load websites?
Ping uses ICMP, which many networks allow, while HTTP/HTTPS traffic might be blocked by a firewall or the ISP. Check port 80/443 with telnet example.com 80 or nc -vz example.com 443 to see if the ports are reachable.
How can I determine if my ISP is blocking traffic?
Perform a traceroute to a known external site. If the trace stops before reaching the ISP’s gateway, they may be filtering traffic. Contact your ISP with the traceroute data for clarification.
What should I do if my default route points to the wrong gateway?
Remove the incorrect route first: sudo ip route del default via 192.168.1.254 dev eth0. Then add the correct one as shown in Step 4. Verify with ip route show before testing connectivity again.
Conclusion
Network troubleshooting on Linux can feel daunting, but with a systematic approach—checking interfaces, verifying IPs, tracing routes, inspecting routes, capturing traffic, and validating DNS—you can pinpoint and resolve most issues quickly. Remember to document each step and keep your tools up to date. Armed with these commands, you’ll transform network hiccups from mystery into manageable tasks, keeping your systems online and your productivity high.
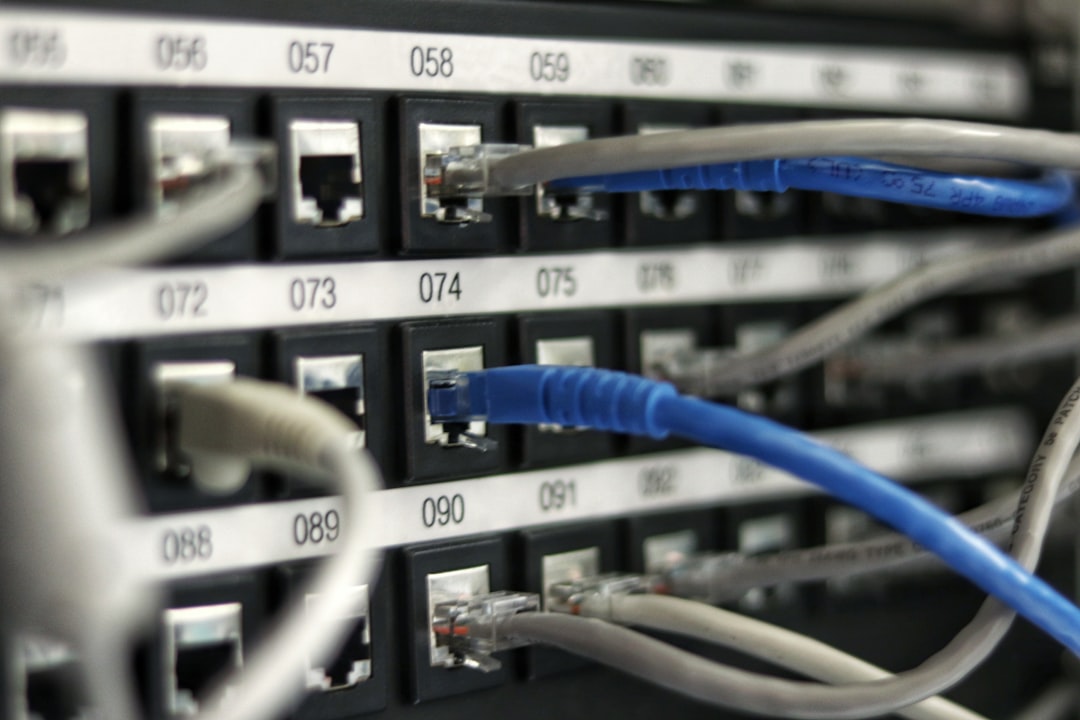
Photo by Jordan Harrison on Unsplash