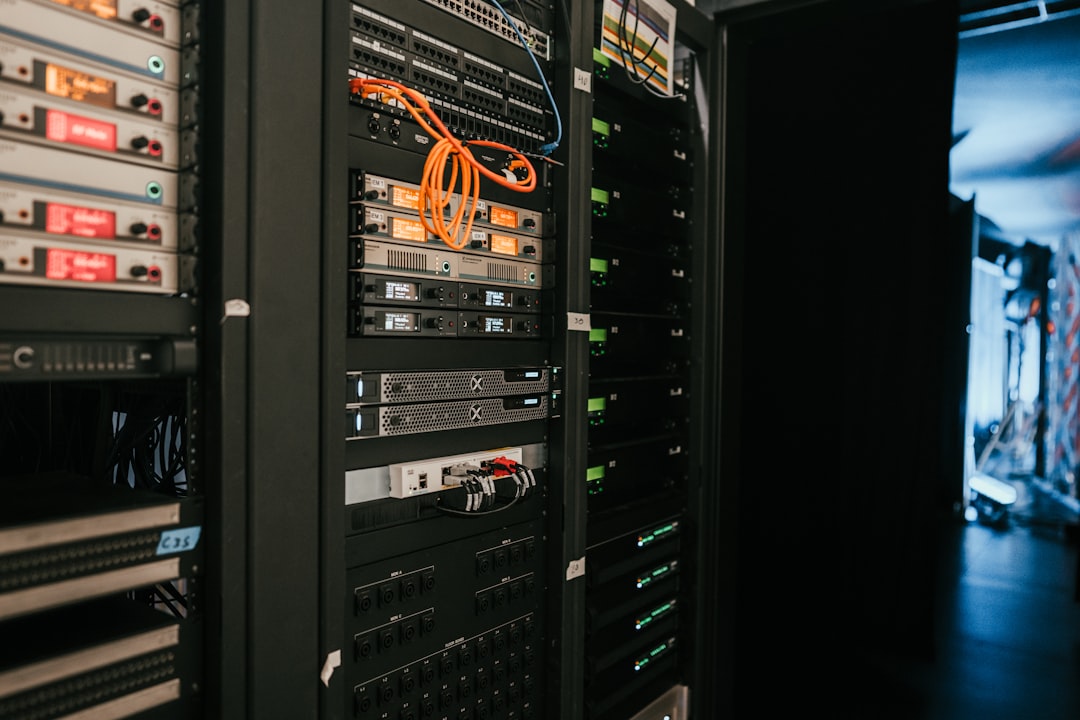

In today’s hyper‑connected world, a single compromised device can become the gateway for a full‑scale breach. VLAN segmentation and Access Control Lists (ACLs) are two of the most effective, yet often under‑utilized, tools for locking down network infrastructure. This guide walks you through the entire process—from planning your zones to testing the final configuration—using real‑world commands you can copy and paste. By the end, you’ll have a hardened network that isolates critical assets, limits lateral movement, and makes troubleshooting a breeze.
What You’ll Need
- A managed Layer‑2 switch (Cisco, Juniper, Aruba, etc.) that supports 802.1Q VLAN tagging
- A Layer‑3 device for inter‑VLAN routing (router, Layer‑3 switch, or a firewall with VLAN support)
- Administrative access to the devices (SSH or console)
- Basic network diagram showing existing subnets and device roles
- Backup of current configurations
Step 1: Plan Your Network Zones
Before you touch a single port, sketch a logical map of the zones you want to create. Typical zones include:
- Management – Switches, APs, NTP servers
- Servers – Database, application, and file servers
- Workstations – End‑user PCs and laptops
- Guest – Untrusted Wi‑Fi or visitor access
- IoT – Cameras, printers, and smart devices
Assign each zone a unique VLAN ID (VLAN 10 for Management, 20 for Servers, etc.) and note the IP subnet you will use (e.g., 10.0.10.0/24 for VLAN 10). This planning step prevents you from having to renumber later, which can cause outages.
Step 2: Create VLANs on the Switch
Log into your switch and create the VLAN objects. Below is a Cisco IOS example; adapt the syntax for your vendor.
configure terminal
vlan 10
 name Management
 exit
vlan 20
 name Servers
 exit
vlan 30
 name Workstations
 exit
vlan 40
 name Guest
 exit
vlan 50
 name IoT
 exit
end
write memory
On a Juniper EX series the equivalent is:
set vlans Management vlan-id 10
set vlans Servers vlan-id 20
set vlans Workstations vlan-id 30
set vlans Guest vlan-id 40
set vlans IoT vlan-id 50
commit
Step 3: Assign Ports to VLANs
Decide which physical ports belong to each zone. Use access mode for end‑devices and trunk mode for uplinks.
# Cisco example for an access port
interface GigabitEthernet1/0/5
 switchport mode access
 switchport access vlan 30   ! Workstations
 spanning-tree portfast
 exit

# Cisco example for a trunk port (uplink to router)
interface GigabitEthernet1/0/24
 switchport mode trunk
 switchport trunk allowed vlan 10,20,30,40,50
 spanning-tree trunkport
 exit
Remember to disable auto‑negotiation on some older devices if you see mismatched duplex errors.
Step 4: Configure Inter‑VLAN Routing
Without routing, devices in different VLANs cannot talk. The simplest method is “router‑on‑a‑stick” using a single physical link with sub‑interfaces.
# On a Cisco router
interface GigabitEthernet0/0
 no shutdown
 exit
interface GigabitEthernet0/0.10
 encapsulation dot1Q 10
 ip address 10.0.10.1 255.255.255.0
 exit
interface GigabitEthernet0/0.20
 encapsulation dot1Q 20
 ip address 10.0.20.1 255.255.255.0
 exit
! repeat for remaining VLANs
ip routing
If you have a Layer‑3 switch, enable SVIs (Switched Virtual Interfaces) instead:
# Cisco Catalyst 3850
interface Vlan10
 ip address 10.0.10.1 255.255.255.0
 no shutdown
interface Vlan20
 ip address 10.0.20.1 255.255.255.0
 no shutdown
! …continue for each VLAN
ip routing
Step 5: Define ACLs for Each VLAN
ACLs are the gatekeepers. Create a separate ACL that reflects the traffic you *allow*—everything else is denied by default. Below is a common pattern:
# Permit management VLAN to reach all devices on TCP/22, 443, and SNMP
ip access-list extended MGMT-ACL
 permit tcp any any eq 22
 permit tcp any any eq 443
 permit udp any any eq 161
 deny   ip any any

# Servers VLAN: allow inbound HTTP/HTTPS, block everything else
ip access-list extended SERVERS-ACL
 permit tcp any host 10.0.20.10 eq 80
 permit tcp any host 10.0.20.10 eq 443
 deny   ip any any

# Guest VLAN: only Internet (NAT) and DNS
ip access-list extended GUEST-ACL
 permit udp any any eq 53
 permit tcp any any eq 53
 permit ip any any
 deny   ip any any
Note the final deny ip any any—it is implicit in Cisco but adding it makes the intent crystal clear.
Step 6: Apply ACLs to Interfaces
Apply the ACLs in the direction that matches your security model. For most environments you want to filter *inbound* traffic on the VLAN interface (SVI) or sub‑interface.
# Applying to an SVI on a Layer‑3 switch
interface Vlan10
 ip access-group MGMT-ACL in
!
interface Vlan20
 ip access-group SERVERS-ACL in
!
interface Vlan40
 ip access-group GUEST-ACL in
If you prefer to filter *outbound* traffic (e.g., to stop compromised hosts from reaching the Internet), attach the ACL to the egress direction instead.
Step 7: Verify and Test Traffic Flow
Never assume the configuration works—test it.
- Use
show vlan briefandshow ip interface briefto confirm VLANs and IPs. - Ping between hosts in the same VLAN (should succeed).
- Ping across VLANs (should be blocked unless permitted by ACL).
- On the router, run
show access-liststo see hit counts. - Use a traffic generator or a simple
curl/telnettest from a workstation to verify allowed services.
Document any unexpected drops and adjust the ACLs accordingly. Remember that ACLs are order‑sensitive; the first matching line wins.
Step 8: Harden Management Access
Even after VLANs and ACLs are in place, the management plane can be a soft target. Apply these extra safeguards:
- Enable SSH (disable Telnet) and enforce key‑based authentication.
- Restrict SSH/HTTPS access to the Management VLAN only.
- Configure login banners and enable AAA (RADIUS/TACACS+).
- Set
no ip http serverandno ip http secure-serverunless needed.
Common Mistakes to Avoid
Even seasoned admins slip up. Here are the pitfalls that cause outages:
- Overlapping IP subnets: Two VLANs using the same IP range will cause ARP storms.
- Forgetting to enable routing: Without
ip routingon a Layer‑3 switch, inter‑VLAN traffic stays isolated. - Mis‑ordered ACL entries: Placing a broad
permit ip any anybefore a specific deny will render the deny useless. - Applying ACLs to the wrong direction: An inbound ACL on a trunk port will block traffic before it even reaches the SVI.
- Neglecting to save the configuration: A reboot can wipe out all your work if you forget
write memoryorcommit.
Tips and Tricks
Take your security a notch higher with these quick wins:
- Use descriptive ACL names (e.g.,
GUEST-OUTBOUND) to simplify audits. - Leverage
object-group(Cisco) oraddress‑book(Juniper) to group IPs and ports, reducing ACL length. - Enable
logon deny statements for forensic visibility (e.g.,deny ip any any log). - Consider
Private VLANsfor guest networks that need isolation even within the same VLAN. - Schedule regular
show run | include access-listreviews to prune stale rules.
Frequently Asked Questions
Do I need a separate router for each VLAN?
No. A single router‑on‑a‑stick or a Layer‑3 switch can host sub‑interfaces or SVIs for all VLANs, simplifying cabling and management.
Can I use the same ACL on multiple VLANs?
Yes, if the traffic policy is identical. However, naming the ACL generically (e.g., WEB-ACL) helps avoid confusion when you later need to diverge policies.
What’s the difference between a standard and an extended ACL?
Standard ACLs filter only by source IP, while extended ACLs can filter by source, destination, protocol, and port. For VLAN security you almost always want extended ACLs for granular control.
Conclusion
VLAN segmentation paired with well‑crafted ACLs creates a layered defense that is both scalable and easy to manage. By following the eight steps outlined above—planning zones, creating VLANs, assigning ports, enabling routing, defining and applying ACLs, testing, and hardening management—you’ll dramatically reduce the attack surface of your network. Remember to document every change, back up configurations, and periodically review your ACLs to keep pace with evolving threats. With a disciplined approach, your network devices will stay secure, performant, and ready for the next wave of technology.
Photo by Adi Goldstein on Unsplash