
Setting up a RAID array on a home server can dramatically improve data reliability, performance, or both—depending on the RAID level you choose. While the concept sounds daunting, the process is straightforward once you understand the hardware requirements, the software tools, and the best practices. This guide walks you through everything you need to know to install and configure RAID on a typical Linux‑based home server, from gathering components to fine‑tuning the array for everyday use.
What You’ll Need
- At least two identical hard drives or SSDs (same capacity and speed are ideal)
- A motherboard with a RAID‑capable SATA controller or a dedicated RAID card
- A recent Linux distribution (Ubuntu Server 22.04 LTS, Debian 12, or similar)
- SSH client or monitor/keyboard for direct console access
- Basic command‑line knowledge (fdisk, mdadm, etc.)
- Backup of any existing data on the drives you’ll use
Step 1: Choose the Right RAID Level
Before you touch any hardware, decide which RAID level matches your goals:
- RAID 0 – Striping only; boosts performance but offers no redundancy.
- RAID 1 – Mirroring; provides fault tolerance at the cost of halving usable capacity.
- RAID 5 – Block-level striping with distributed parity; balances capacity, performance, and redundancy (requires ≥3 drives).
- RAID 6 – Double parity; tolerates two simultaneous drive failures (requires ≥4 drives).
- RAID 10 – Mirrored stripes; combines RAID 0 and RAID 1 for speed and redundancy (requires ≥4 drives).
For most home‑server scenarios, RAID 1 (for a simple backup) or RAID 5 (for a larger, fault‑tolerant pool) are the sweet spots.
Step 2: Install the Drives and Verify Detection
Power down the server, mount the drives in available bays, and connect them to the SATA ports (or RAID card ports). Boot the system and confirm the OS sees the new devices:
sudo lsblk -o NAME,SIZE,TYPE,MOUNTPOINTYou should see entries like /dev/sdb and /dev/sdc with the correct sizes. If a drive is missing, double‑check cables and BIOS/UEFI settings (enable AHCI or RAID mode as appropriate).
Step 3: Install and Prepare mdadm (Software RAID)
While many motherboards offer hardware RAID, the Linux mdadm utility provides a flexible, well‑documented software RAID solution that works on virtually any hardware.
sudo apt update && sudo apt install mdadm -yDuring installation, mdadm may ask if you want to enable automatic assembly of RAID arrays at boot—answer Yes. After installation, create a mdadm.conf backup:
sudo cp /etc/mdadm/mdadm.conf /etc/mdadm/mdadm.conf.bakStep 4: Create the RAID Array
Replace /dev/sdb and /dev/sdc with the actual device names you identified earlier. The following examples cover RAID 1 and RAID 5; adjust --level and the number of devices accordingly.
RAID 1 (mirroring two drives):
sudo mdadm --create /dev/md0
  --level=1
  --raid-devices=2
  /dev/sdb /dev/sdc
RAID 5 (striping with parity on three drives):
sudo mdadm --create /dev/md0
  --level=5
  --raid-devices=3
  /dev/sdb /dev/sdc /dev/sdd
After issuing the command, monitor progress with:
watch cat /proc/mdstatThe sync can take from a few minutes to several hours depending on drive size.
Step 5: Create a Filesystem and Mount the Array
Once the array is healthy (status “active”), format it with a filesystem suited to your workload. Ext4 is a solid default; XFS is a good alternative for large files.
sudo mkfs.ext4 /dev/md0Create a mount point and mount the new volume:
sudo mkdir -p /mnt/raid
sudo mount /dev/md0 /mnt/raid
Verify the mount:
df -h /mnt/raidStep 6: Configure Automatic Assembly at Boot
To ensure the RAID array reassembles after a reboot, add it to /etc/mdadm/mdadm.conf and update the initramfs.
sudo mdadm --detail --scan | sudo tee -a /etc/mdadm/mdadm.conf
sudo update-initramfs -u
Next, add an entry to /etc/fstab so the filesystem mounts automatically:
UUID=$(blkid -s UUID -o value /dev/md0)
echo "UUID=$UUID /mnt/raid ext4 defaults,nofail,discard 0 2" | sudo tee -a /etc/fstab
The nofail option prevents boot delays if the array is degraded, while discard enables TRIM support for SSDs.
Common Mistakes to Avoid
Even seasoned hobbyists slip up. Here are the pitfalls that most cause headaches:
- Mixing drive sizes. RAID will size the array to the smallest drive, wasting space on larger ones.
- Skipping backups. RAID is not a substitute for regular backups; a simultaneous double‑disk failure can still wipe data.
- Using hardware RAID with mdadm. Combining both can lead to “nested” RAID, confusing the kernel and causing performance loss.
- Neglecting SMART monitoring. Drives can degrade silently; install
smartmontoolsand schedule regular health checks. - Forgetting to update
mdadm.conf. Without the proper entry, the array may not assemble after a power loss.
Tips and Tricks
Boost reliability and performance with these extra steps:
- Enable write‑back caching on the RAID controller (if supported) for a noticeable speed bump.
- Run
cronjobs that email youmdadm --detail /dev/md0output weekly. - Consider using
btrfsorzfson top of the RAID for built‑in snapshots and additional redundancy. - If you’re using SSDs, enable the
discardmount option and schedule a nightlyfstrimto maintain performance.
Frequently Asked Questions
Can I convert a single‑disk system to RAID without reinstalling?
Yes. Add a second drive, create a degraded RAID 1 array with only the new disk, copy data over, then add the original disk to the array and let it resync.
What happens if one drive fails in a RAID 5 array?
The array becomes “degraded” but remains operational. Replace the failed drive promptly and run mdadm --manage /dev/md0 --add /dev/sdX to start rebuilding.
Is hardware RAID faster than software RAID on a home server?
Modern CPUs handle software RAID efficiently; the performance gap is often negligible for typical home workloads. Hardware RAID adds cost and can lock you into a vendor’s firmware.
Conclusion
Installing and configuring RAID on a home server is a rewarding project that adds resilience and speed to your personal data hub. By selecting the appropriate RAID level, using mdadm for flexible software RAID, and following the steps above, you’ll have a robust storage pool that can weather drive failures and keep your media, backups, and applications running smoothly. Remember to keep backups, monitor drive health, and enjoy the peace of mind that comes with a well‑engineered RAID setup.
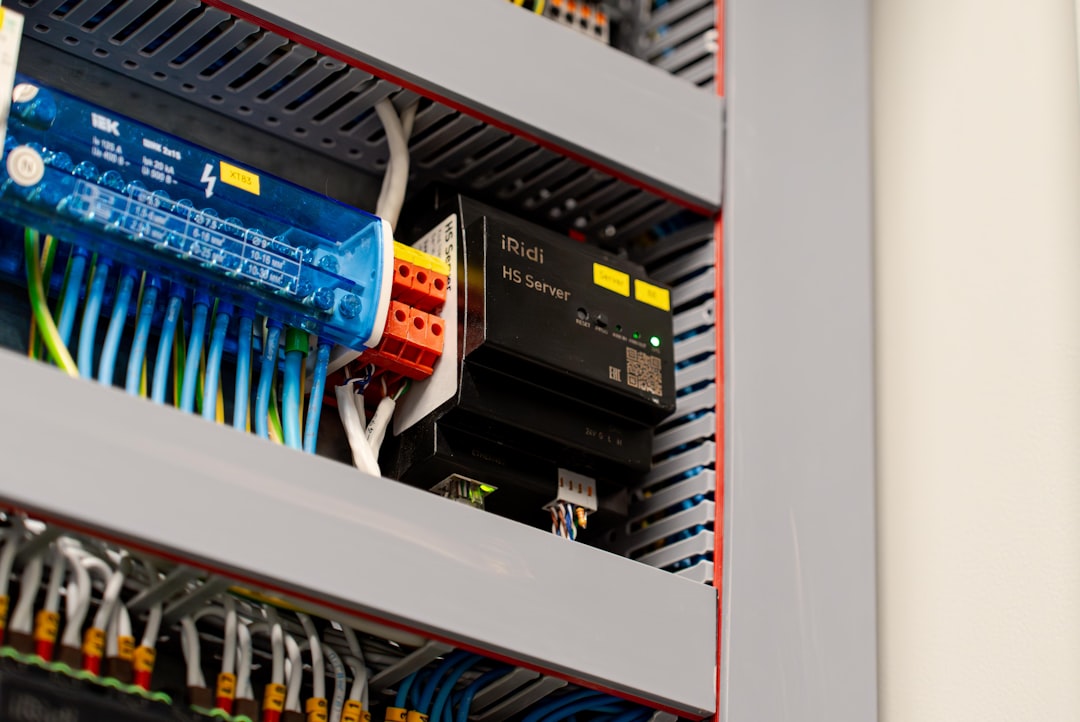
Photo by Aleksandr Lyaptsev on Unsplash