Gaming on a tight budget doesn’t mean you have to settle for low frame rates or choppy gameplay. With a little planning, savvy shopping, and the right sequence of upgrades, you can breathe new life into an older rig and enjoy modern titles at respectable settings. This guide walks you through every decision point—from assessing what you already own to installing the final driver—so you can stretch each dollar as far as possible. No jargon, no guesswork, just clear, actionable steps that even a first‑time builder can follow.
What You’ll Need
- Current PC (case, power supply, motherboard)
- Budget‑friendly CPU and compatible motherboard (or just a CPU if the socket matches)
- Mid‑range graphics card (new or gently used)
- 8‑16 GB DDR4 RAM (depending on your needs)
- SSD (250 GB or larger) for the OS and favorite games
- Thermal paste (ceramic or metal‑based)
- Phillips screwdriver set
- Anti‑static wrist strap (or a grounded surface)
- Free space on a desk and a clean work area
- Software: CPU-Z, GPU‑Z, HWMonitor, and the latest drivers from manufacturer sites
Step 1: Assess Your Current Hardware and Set a Realistic Budget
Start by listing every component in your current PC. Open the case, note the CPU model, motherboard chipset, RAM size, storage type, and power‑supply wattage. Use a free tool like CPU‑Z to capture exact specs. Once you have a clear picture, decide how much you’re willing to spend. For a budget upgrade, $300‑$500 can yield a noticeable performance jump if you target the right bottlenecks. Allocate roughly 40 % to the GPU, 30 % to the CPU/motherboard, and the remaining 30 % to RAM, storage, and accessories.
Step 2: Choose a Cost‑Effective CPU and Motherboard Combo
If your current CPU is older than a 4‑year‑old model, it’s likely the main performance limiter. Look for a recent generation that fits your budget—examples include the AMD Ryzen 5 5600 or Intel Core i5‑12400. Check the socket type of your existing motherboard; if it matches, you can keep the board and just swap the CPU (saving money). If not, buy a compatible motherboard that supports the chosen CPU and offers at least one M.2 slot for an SSD. Use price‑tracking sites like CamelCamelCamel to spot sales, and consider gently used parts on reputable marketplaces.
Step 3: Pick a Mid‑Range Graphics Card That Fits Your Budget
The GPU usually provides the biggest FPS boost. For 1080p gaming on a budget, the NVIDIA GTX 1660 Super or AMD Radeon RX 6600 deliver solid performance without the premium price tag of newer RTX models. Check the power‑draw (TDP) of the card and compare it to your PSU’s rating. If your PSU is under 450 W or of unknown quality, plan to replace it in the next step. Buying a used GPU from a trusted seller can shave $50‑$100 off the price, but verify that the card has not been mined or heavily overclocked.
Step 4: Upgrade RAM and Add an SSD for Faster Loading
Modern games benefit from at least 8 GB of RAM, but 16 GB is the sweet spot for future‑proofing. Look for DDR4 modules with 3200 MHz speed; they are inexpensive and compatible with most mid‑range CPUs. If you already have 8 GB, simply add another identical kit to enable dual‑channel mode, which improves bandwidth. Replace any mechanical hard drive with a SATA III SSD for the operating system and frequently played titles. An SSD cuts boot times by 70 % and reduces in‑game texture pop‑in. Install the OS fresh to avoid leftover bloat.
Step 5: Ensure Your Power Supply Is Up to the Task
A reliable PSU protects all your new components. If your current unit is below 450 W, shows signs of wear, or lacks an 80 Plus rating, invest in a reputable 550 W or 650 W model from brands like Corsair, Seasonic, or EVGA. Verify that it has the necessary PCIe power connectors for your GPU (6‑pin, 8‑pin, or both). Install the PSU by first unplugging the old one, then securing the new unit with screws, and finally routing the cables so they’re easy to manage later.
Step 6: Assemble, Cable‑Manage, and Double‑Check Connections
With the anti‑static wrist strap on, place the motherboard on a non‑conductive surface. Install the CPU, apply a pea‑sized dot of thermal paste, and attach the cooler according to the manufacturer’s instructions. Seat the RAM sticks in the correct DIMM slots (usually the second and fourth slots for dual‑channel). Mount the SSD in the M.2 slot or a 2.5‑inch bay, then secure the GPU in the primary PCIe x16 slot. Connect power cables: 24‑pin ATX to the motherboard, 8‑pin CPU power, and PCIe power to the GPU. Use zip ties or Velcro straps to tidy up excess cables—good airflow reduces temperatures and noise.
Step 7: Install Drivers, Benchmark, and Optimize Settings
Power on the system and enter the BIOS to confirm that the RAM frequency and CPU multiplier are recognized. Save defaults and boot into Windows. Download the latest GPU driver from NVIDIA or AMD, and install chipset drivers from the motherboard manufacturer. Run a lightweight benchmark like 3DMark or Unigine Valley to establish a baseline. Then launch your favorite game, set the resolution to your monitor’s native size, and start with medium graphics presets. Use built‑in tools like NVIDIA GeForce Experience or AMD Radeon Software to enable “Game Mode” and auto‑optimize for performance.
Common Mistakes to Avoid
1. Overspending on a GPU while neglecting the PSU. A weak power supply can cause crashes or even damage components.
2. Skipping BIOS updates. New CPUs sometimes require a firmware bump to work correctly.
3. Forgetting to apply thermal paste. Direct contact between CPU and cooler leads to overheating.
4. Mixing RAM speeds. Using mismatched modules forces the system to run at the lowest common speed.
5. Ignoring cable management. Poor airflow raises temperatures and shortens component lifespan.
Tips and Tricks
• Use price‑alert tools (e.g., Keepa for Amazon) to catch flash sales.
• Consider refurbished or open‑box items from reputable retailers; they often come with a warranty.
• If you’re comfortable, modestly overclock the GPU using MSI Afterburner—keep the temperature under 75 °C.
• Enable Windows Game Mode and disable background apps to free up RAM.
• Regularly clean dust with compressed air to maintain optimal cooling.
Frequently Asked Questions
Do I need a brand‑new SSD, or can I reuse my old one?
You can reuse a functional SSD, but a fresh install ensures no leftover files slow you down. If the old drive is a slow HDD, swapping to an SSD is the biggest performance win.
Can I mix a used GPU with new components without compatibility issues?
Yes, as long as the GPU’s PCIe version matches the motherboard (PCIe 3.0 works fine in a PCIe 4.0 slot) and the PSU provides enough wattage and the correct connectors.
Is it worth buying a cheap aftermarket CPU cooler?
For budget builds, a decent aftermarket cooler (e.g., Cooler Master Hyper 212) is often cheaper and quieter than stock coolers, especially if you plan to overclock.
Conclusion
Upgrading a gaming PC on a budget is a puzzle of priorities: identify the weakest link, allocate funds wisely, and follow a disciplined assembly process. By focusing on a balanced CPU‑GPU combo, adding fast storage, and ensuring reliable power, you can achieve smooth 1080p gameplay without spending a fortune. Remember to double‑check compatibility, keep an eye on sales, and enjoy the satisfaction of building a system that feels fresh, fast, and uniquely yours.
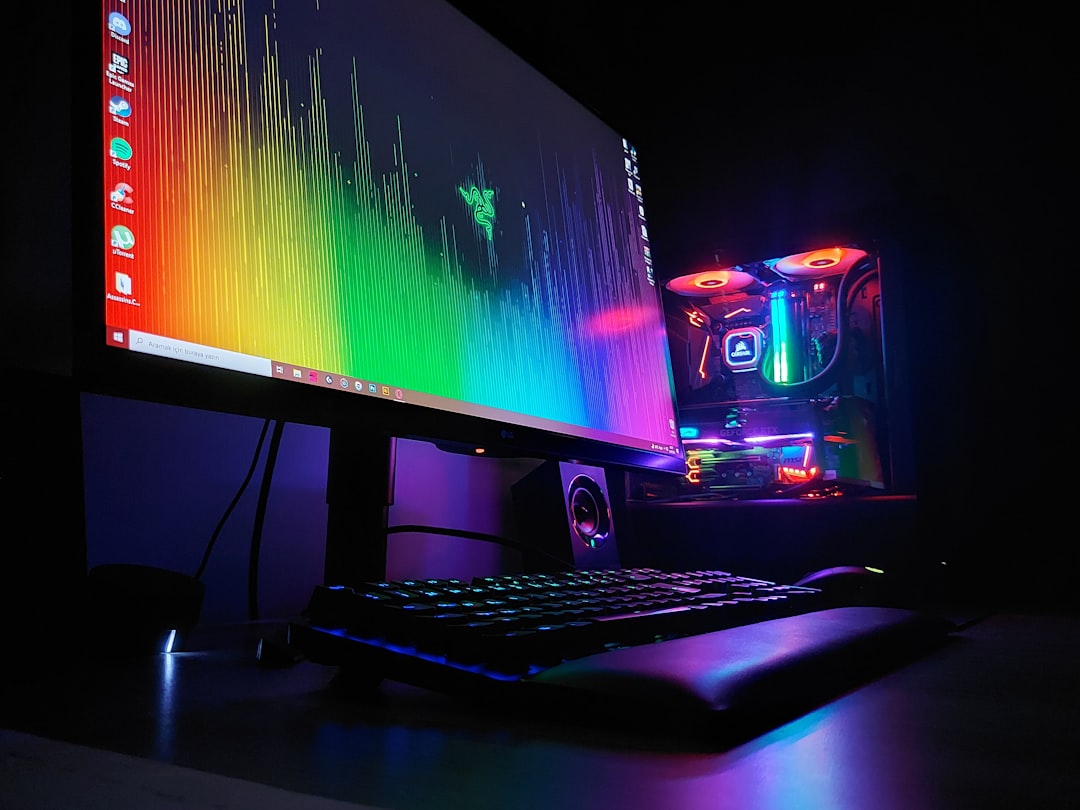
Photo by Resul Kaya on Unsplash