
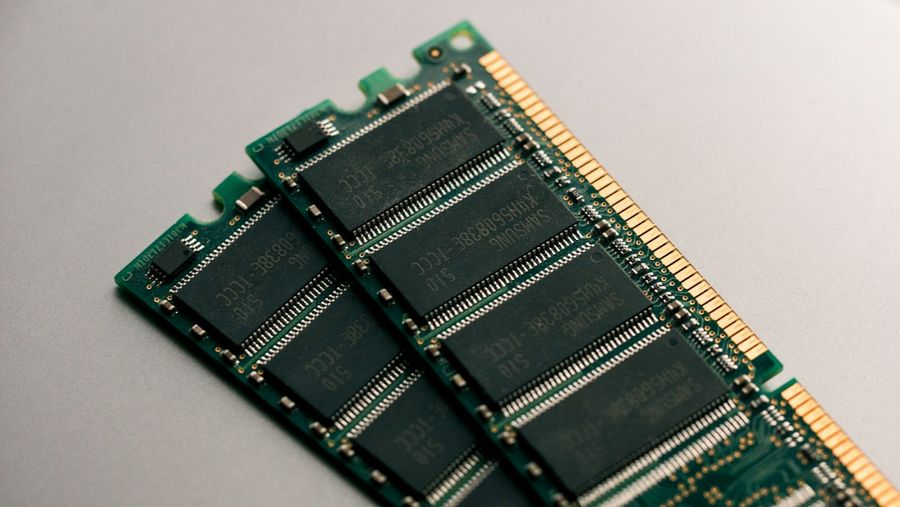
Upgrading to DDR5 RAM can feel like stepping into the future of PC performance. The new standard offers higher bandwidth, lower power consumption, and a boost in multitasking capabilities—perfect for gamers, creators, and anyone looking to keep their rig snappy. This guide walks you through every stage of a DDR5 RAM upgrade, from checking compatibility to installing the modules and confirming that Windows sees the new memory. No prior experience is required; just follow the steps, avoid the common mistakes we highlight, and you’ll be ready to enjoy the speed boost.
What You’ll Need
- A compatible motherboard that supports DDR5 (check the model’s specifications).
- DDR5 RAM sticks (matching speed, capacity, and voltage recommended by the motherboard manufacturer).
- A Phillips‑head screwdriver (usually #0 or #1).
- Anti‑static wrist strap or a grounded metal surface.
- Access to your PC’s BIOS/UEFI (keyboard and monitor).
- Optional: Thermal paste (if you need to reseat the CPU cooler after the upgrade).
Step 1: Verify Motherboard and CPU Compatibility
Before you even open the case, confirm that your motherboard and CPU support DDR5. Look up the exact model on the manufacturer’s website (e.g., ASUS ROG Strix Z790‑E) and locate the memory specifications. Most Z‑series Intel 12th/13th‑gen boards and AMD X670/B650 boards support DDR5, but some early revisions may need a BIOS update. Write down the supported memory speeds (e.g., 4800 MHz, 5600 MHz) and the maximum total capacity.
Step 2: Update BIOS/UEFI Firmware
A recent BIOS version often includes improved memory compatibility and XMP profile support for DDR5. Download the latest BIOS from the motherboard’s support page, extract the files to a USB flash drive formatted as FAT32, then reboot into BIOS by pressing Delete or F2. Navigate to the “Tools” or “EZ Flash” section, select the USB drive, and follow the on‑screen prompts. After flashing, let the system reboot automatically. If you’re uncomfortable flashing BIOS, many retailers offer a “BIOS flash‑back” service.
Step 3: Gather System Information with Windows Tools
While still in Windows, open Task Manager (Ctrl + Shift + Esc) and go to the “Performance” tab. Note the current RAM type, speed, and total capacity. For a deeper view, run the following PowerShell command:
Get-CimInstance Win32_PhysicalMemory | Select-Object Manufacturer, Speed, Capacity, ConfiguredClockSpeed, MemoryTypeIf the MemoryType returns 24, that means DDR4, confirming you need a new platform for DDR5. This step helps you compare the before‑and‑after numbers later.
Step 4: Power Down, Unplug, and Ground Yourself
Shut down Windows, unplug the power cord, and press the power button for a few seconds to discharge residual electricity. Move the PC to a clean, static‑free surface. Slip on an anti‑static wrist strap and attach the clip to the case’s metal chassis, or simply touch the metal case frequently to stay grounded.
Step 5: Remove Existing RAM Modules
Locate the DIMM slots—usually near the CPU socket. Gently push down on the two retaining clips at each end of the RAM stick; the module should pop up at an angle. Pull the module out by holding the edges (never touch the gold contacts). If you’re installing DDR5 for the first time, you’ll notice the notch is positioned differently; this prevents accidental insertion of the wrong type.
Step 6: Install the DDR5 Modules
Take your DDR5 sticks and align the notch on the module with the key in the slot. The module should slide in at a 30‑degree angle. Once the contacts are fully seated, press down firmly until the retaining clips snap back into place. If you have a dual‑channel kit, install the sticks in the slots recommended by the motherboard manual (often slots 1 & 3 or 2 & 4). Ensure they are level; a mis‑aligned stick can cause boot failures.
Step 7: Adjust BIOS Settings for XMP/EXPO Profiles
Power the system back on and immediately enter BIOS/UEFI (usually Delete or F2). Navigate to the “AI Tweaker”, “OC”, or “Memory” tab. Look for an option called “XMP”, “EXPO”, or “Memory Profile”. Enable it and select the profile that matches your RAM’s rated speed (e.g., 5600 MHz CL36). Save and exit. The BIOS will now apply the correct voltage (often 1.25 V for DDR5) and timings automatically.
Step 8: Verify the Upgrade in Windows
Once Windows boots, reopen Task Manager → “Performance” → “Memory”. You should see the new total capacity, the DDR5 label, and the upgraded speed. For a more detailed report, run the PowerShell command from Step 3 again; the Speed field should reflect the XMP/EXPO setting (e.g., 5600 MHz). If the speed is lower than expected, re‑enter BIOS and double‑check that the XMP/EXPO profile is enabled.
Common Mistakes to Avoid
1. Buying DDR4 for a DDR5 board. The notch positions are different; trying to force a DDR4 stick will damage the pins.
2. Skipping the BIOS update. Early BIOS versions may not recognise DDR5 or may default to a low‑speed JEDEC profile.
3. Mixing capacities or speeds. Mixing a 16 GB 5600 MHz stick with an 8 GB 4800 MHz stick forces the system to run at the lowest common denominator.
4. Not grounding yourself. Static discharge can fry the memory controller on the CPU.
5. Forgetting to enable XMP/EXPO. Without it, the RAM will run at a generic 4800 MHz speed, negating most of the performance gain.
Tips and Tricks
• Use a dual‑channel kit. Two identical sticks give you twice the bandwidth compared to a single module.
• Check motherboard QVL (Qualified Vendor List). While most DDR5 sticks work, the QVL guarantees tested compatibility.
• Run a memory stress test. Tools like MemTest86 or TechPowerUp CPU-Z can confirm stability after the upgrade.
• Consider future‑proofing. If your budget allows, opt for a 32 GB (2 × 16 GB) kit; many modern games and content‑creation apps start to benefit from that amount.
• Keep the BIOS profile saved. Some BIOSes let you store multiple profiles; you can switch back if you ever need to troubleshoot.
Frequently Asked Questions
Do I need to reinstall Windows after installing DDR5?
No. Windows detects the new RAM automatically. However, if you change the total capacity dramatically (e.g., from 8 GB to 64 GB), a fresh Windows install can help re‑optimise paging file settings, but it’s not required.
Can I use DDR5 RAM on an older motherboard with a BIOS update?
Only if the motherboard’s hardware revision includes a DDR5 memory controller. A BIOS update cannot add DDR5 support to a board that was designed for DDR4, because the physical DIMM slot and electrical traces differ.
What voltage should DDR5 run at, and can I overclock it?
Standard DDR5 operates at 1.1 V–1.2 V for JEDEC profiles, while XMP/EXPO profiles often set it to 1.25 V. Overclocking beyond the rated voltage is possible but requires careful cooling and may void the warranty. Beginners should stick to the XMP/EXPO profile.
Conclusion
Upgrading to DDR5 RAM is one of the most straightforward ways to give a modern PC a noticeable performance lift. By confirming compatibility, updating the BIOS, installing the modules correctly, and enabling the appropriate memory profile, you’ll unlock higher bandwidth and lower power draw without needing to replace the whole system. Remember to avoid the common pitfalls—especially mixing RAM types or forgetting XMP—and you’ll enjoy a smoother, faster computing experience for years to come.
Photo by Harrison Broadbent on Unsplash


