
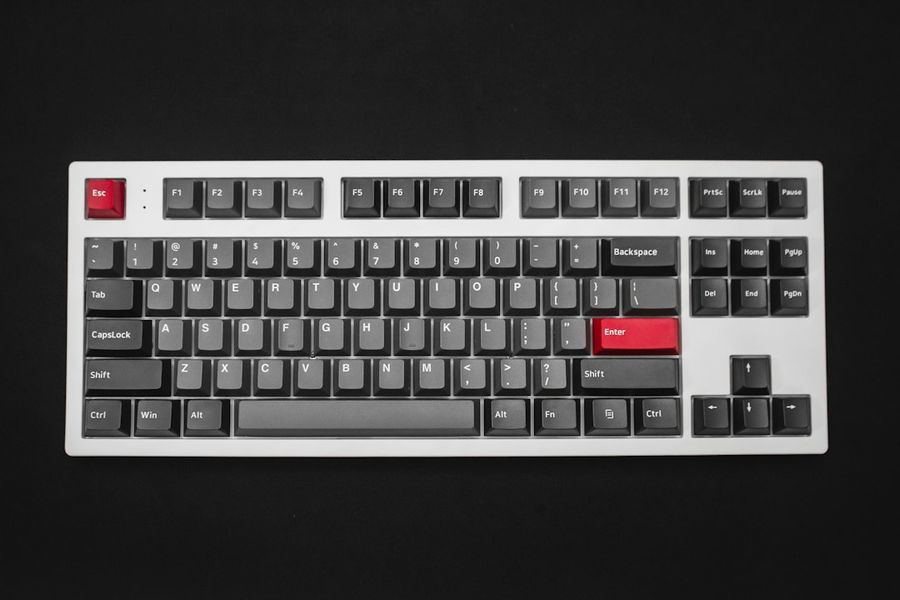
Ever dreamed of typing on a keyboard that feels just right, looks exactly how you want it, and works with your favorite software? Building a custom mechanical keyboard is one of the most rewarding DIY projects in tech. Whether you’re a coder, gamer, or just love the satisfying click of a well‑tuned switch, a custom keyboard lets you tailor every detail—from switch type to firmware—to your own preferences.
What You’ll Need
- Keyboard kit (PCB, case, plate, screws, keycaps)
- Mechanical switches (Cherry MX, Gateron, Kailh, etc.)
- Keycaps (PBT or ABS, profile of choice)
- Soldering station (soldering iron, solder, flux)
- Hot‑soldering kit (optional for hot‑swap sockets)
- Microcontroller (ATmega32U4, STM32, or QMK‑compatible board)
- USB cable (micro‑USB or USB‑C)
- Computer with QMK firmware tools (Python, Git, PlatformIO)
- Multimeter (for testing continuity)
- Wire cutters, tweezers, and a small screwdriver set
- Anti‑static wrist strap (recommended)
Step 1: Gather and Inspect Your Parts
Before you touch a single switch, make sure all components are present and in good condition. Open your kit and check the PCB for scratches or bent pads. Verify that the case and plate fit the layout (e.g., 60%, 75%, TKL). If you’re buying switches separately, ensure you have the right keycap profile (SA, DSA, OEM, etc.) to avoid a mismatch.
Step 2: Prepare Your Workspace
Set up a clean, well‑lit area with an anti‑static mat and wrist strap. Keep all tools within arm’s reach. A good rule of thumb: place the PCB on a heat‑resistant surface, and keep the soldering iron in a holder to avoid accidental burns. This step is crucial to prevent damaging your components.
Step 3: Test Your Switches
Before soldering, test each switch with a multimeter to confirm they’re functional. Set the meter to continuity mode, touch the two pins on a switch’s side, and you should hear a click. If a switch fails, replace it immediately—soldering a broken switch is a waste of time.
Step 4: Soldering the PCB
1. Apply a small amount of flux to each pad.
2. Heat the soldering iron to 350°C (660°F).
3. Place the switch’s pins onto the pads, hold for 2–3 seconds, then feed a tiny bead of solder into each joint.
4. Inspect each joint: it should be shiny and conical, not dull or spread‑out.
5. Repeat for all keys. If you’re using a hot‑swap board, skip this step and insert the switches into the sockets.
Common mistake: overheating the pads, which can lift the PCB. Keep the iron tip clean and avoid holding it too long on a single spot.
Step 5: Mount the Plate and Case
Align the plate over the PCB and secure it with the supplied screws. Make sure the plate sits flush; any tilt can cause key wobble. Next, attach the case, ensuring the keycaps line up with the plate holes. Tighten all screws evenly to avoid uneven pressure on the switches.
Step 6: Flashing Firmware with QMK
1. Install QMK firmware tools: pip install qmk.
2. Clone the QMK repo: qmk setup.
3. Navigate to your keyboard’s folder: cd qmk_firmware/keyboards/your_keyboard.
4. Edit the keymap.c file to customize your layout. For a simple starter layout, copy the default keymap.
5. Compile: qmk compile -kb your_keyboard -km default.
6. Put your keyboard in bootloader mode: hold Fn + Esc (or the key combo specified for your board) and press the reset button on the PCB.
7. Flash: qmk flash -kb your_keyboard -km default.
8. Test each key in a text editor. If a key doesn’t register, re‑check the solder joints.
Step 7: Final Testing and Troubleshooting
Plug the keyboard into your computer. Open a keyboard testing website (e.g., keyboardtester.com) and press every key. If a key is stuck or missing, double‑check the corresponding solder joint for a cold solder or a short. Use a small brush or compressed air to clean any debris.
Common Mistakes to Avoid
• Skipping flux: Without flux, solder can’t flow properly, leading to weak joints.
• Overheating the board: Excess heat can warp the PCB or damage components.
• Wrong keycap profile: Mismatched profiles cause uneven key travel and a poor typing experience.
• Incorrect firmware: Flashing the wrong firmware (e.g., using an ATmega32U4 firmware on an STM32 board) will render the keyboard inoperable.
• Ignoring polarity: Some switches have a polarity marker; reversing them can cause key failure.
Tips and Tricks
• Use a soldering iron with a fine tip (0.2 mm) for better precision on small pads.
• Practice on spare switches before soldering your main board to build confidence.
• Enable RGB underglow in QMK by adding RGB_MATRIX_ENABLE = yes to rules.mk and compiling again.
• Hot‑swap sockets allow you to change switches without soldering—great for experimenting.
• Keep a keymap backup on GitHub; version control helps track changes.
Frequently Asked Questions
Can I use any switches I want?
Yes, but make sure they’re compatible with your PCB’s socket type (tactile, linear, clicky) and the keycap profile you’ve chosen.
Do I need to buy a PCB for my keyboard?
Most kits include a PCB, but you can purchase one separately if you want a custom layout. Just ensure it matches the case and plate dimensions.
Which firmware should I use?
QMK is the industry standard for custom keyboards, offering extensive customization and open‑source support. For beginners, start with the default keymap and gradually explore advanced features.
Conclusion
Building a custom mechanical keyboard may seem daunting at first, but with the right tools, a clear plan, and patience, you’ll end up with a device that feels like it was made just for you. From selecting the perfect switches to mastering QMK firmware, every step gives you deeper insight into how keyboards work. Grab your kit, fire up your soldering iron, and start crafting the keyboard of your dreams—one key at a time.
Photo by JL Cabrera on Unsplash