
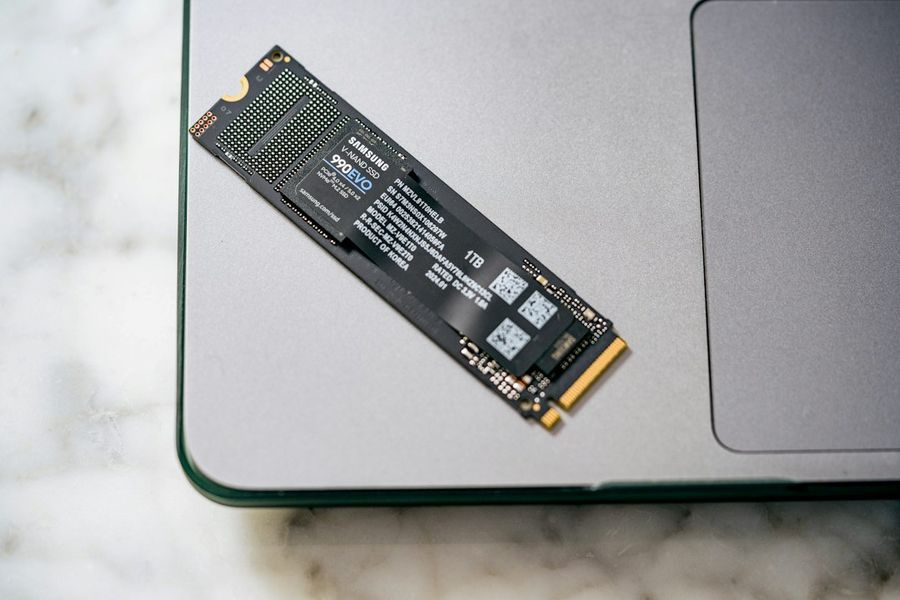
Solid‑state drives (SSDs) have become the go‑to storage solution for anyone who wants faster boot times, snappier applications, and a quieter PC. If you’re still using a traditional hard‑disk drive (HDD) or an older SSD, upgrading to the newest NVMe or PCIe 4.0 model can feel like a daunting project—especially if you’ve never opened your tower before. Fear not! This guide walks you through every step, from picking the right drive to fine‑tuning your system for peak performance. By the end, you’ll have a sleek, lightning‑quick machine without the typical headaches that trip up first‑time upgraders.
What You’ll Need
- Compatible SSD (NVMe PCIe 4.0 or SATA, depending on your motherboard)
- Small Phillips‑head screwdriver
- Anti‑static wrist strap (optional but recommended)
- USB flash drive (for cloning software or OS installer)
- Cloning software (e.g., Macrium Reflect Free or Clonezilla)
- Windows 10/11 installation media (if doing a fresh install)
- Backup solution (external HDD or cloud storage)
Step 1: Choose the Right SSD
Before you buy, check your motherboard’s specifications. Most modern boards support both SATA III (6 Gb/s) and M.2 NVMe drives, but the latter offers up to 7 GB/s on PCIe 4.0. If your board only has SATA ports, a high‑capacity SATA SSD will still give a massive speed boost over an HDD. Look for drives with a good endurance rating (TBW) and a reputable warranty. Popular choices include the Samsung 980 Pro (PCIe 4.0) and the Crucial MX500 (SATA). Remember: size matters—ensure the SSD fits the physical slot (M.2 2280 is standard).
Step 2: Gather Your Tools and Prepare Your Workspace
Turn off your PC, unplug all cables, and move it to a clean, static‑free surface. If you have an anti‑static wrist strap, attach it to a grounded metal part of the case. A Phillips‑head screwdriver (typically #2) is all you need to open most cases. Keep a small container handy for screws so you don’t lose them. While you’re waiting for the system to power down, back up any important data to an external drive or cloud service—this protects you against accidental data loss during cloning.
Step 3: Backup Your Data
Even if you plan to clone your existing drive, a full backup is a safety net. Connect your external HDD, open File Explorer, and copy your Documents, Pictures, and any other irreplaceable folders. For a more thorough backup, use Windows built‑in Backup and Restore (Control Panel > Backup and Restore) or a third‑party tool like Macrium Reflect. Once the backup completes, you can proceed with confidence.
Step 4: Install the SSD Physically
Open the case by removing the side panel—usually a couple of thumbscrews at the back. Locate the M.2 slot (a small, horizontal slot with a tiny mounting screw) or a 2.5‑inch drive bay for SATA SSDs. For an M.2 NVMe drive, gently insert the SSD at a 30‑degree angle until the gold contacts are fully seated, then press it down and secure it with the mounting screw. For a SATA SSD, slide it into the drive bay, connect a SATA data cable from the motherboard, and attach a SATA power connector from the PSU. Double‑check that the SSD is firmly seated and that cables are not strained.
Step 5: Configure BIOS/UEFI Settings
Power the PC back on and immediately press the BIOS access key (usually Del, F2, or Esc). Once inside, navigate to the storage or boot menu. If you installed an NVMe drive, ensure the BIOS detects it—look for it under “NVMe Configuration” or “M.2 Devices.” Set the SSD as the primary boot device. Also, enable AHCI mode (if not already) for SATA drives; this maximizes performance. Save changes and exit (often F10). Your system should reboot, and you’ll see the BIOS POST screen confirming the SSD is recognized.
Step 6: Clone Your Existing Drive or Install a Fresh OS
There are two routes: cloning preserves your current Windows installation, apps, and settings; a fresh install gives a clean slate. For cloning, connect your old HDD via a USB‑to‑SATA adapter or keep it inside the case. Install Macrium Reflect Free, launch it, and select “Clone this disk.” Choose the source (old HDD) and the destination (new SSD). Click “Next,” then “Finish” to start the clone. The process may take 30‑60 minutes depending on data size. If you prefer a fresh install, create a Windows 10/11 bootable USB (use the Media Creation Tool), boot from it, and follow the installer prompts. When asked where to install, select the new SSD, delete any existing partitions on it, and let Windows create the required ones.
Step 7: Optimize Windows for SSD Performance
After Windows boots from the SSD, a few tweaks ensure you get the most out of the drive. First, confirm that TRIM is enabled: open Command Prompt as admin and run fsutil behavior query DisableDeleteNotify. A result of “0” means TRIM is on. Next, disable defragmentation for the SSD (Windows automatically schedules it, but you can verify in the Defragment and Optimize Drives utility). Finally, enable the “High Performance” power plan (Control Panel > Power Options) to prevent the drive from entering aggressive power‑saving modes that can affect speed. If you cloned, you may need to run bcdboot C:Windows /s X: (replace X with the SSD’s EFI partition letter) to fix boot entries.
Common Mistakes to Avoid
1. Skipping the backup. Even a simple cloning error can corrupt data.
2. Installing the wrong form factor. An M.2 SSD won’t fit in a 2.5‑inch bay and vice‑versa.
3. Forgetting to change the boot order. Your PC might still try to boot from the old HDD, leading to confusion.
4. Leaving the old drive connected without disabling it. This can cause drive letter conflicts or accidental writes to the wrong disk.
5. Neglecting to enable AHCI or NVMe mode. Running an SSD in IDE mode throttles performance dramatically.
Tips and Tricks
• Use the latest firmware for your SSD—manufacturers often release updates that improve stability and speed.
• Keep at least 10‑15% of the SSD’s capacity free; SSDs need space for wear‑leveling and garbage collection.
• Enable Windows “Storage Spaces” if you plan to use multiple SSDs for redundancy or pooling.
• For gamers, consider moving large game libraries to a secondary SSD to free up the primary drive for the OS and frequently used apps.
• Periodically run a benchmark tool like CrystalDiskMark to verify that you’re getting the advertised read/write speeds.
Frequently Asked Questions
Do I need to reinstall all my programs after cloning?
No. Cloning creates an exact replica of your old drive, so all programs, settings, and licenses remain intact. Just make sure the clone completes without errors.
Can I use an SSD with an older motherboard that only has SATA ports?
Absolutely. While you won’t get NVMe speeds, a SATA SSD still offers a 3‑5× speed boost over a mechanical HDD and is compatible with virtually any PC built after 2005.
How long will the SSD last?
Modern SSDs have endurance ratings measured in terabytes written (TBW). For typical consumer use, a 500 GB SSD rated for 300 TBW will last well beyond 5‑7 years of normal desktop use.
Conclusion
Upgrading to the latest SSD technology is one of the most cost‑effective ways to breathe new life into a PC. By following this step‑by‑step guide—choosing the right drive, backing up data, installing the hardware, and fine‑tuning Windows—you’ll enjoy faster boot times, smoother multitasking, and a more responsive overall experience. Avoid the common pitfalls, apply the tips, and you’ll have a future‑proof storage solution that keeps your system humming for years to come.
Photo by Samsung Memory on Unsplash


