
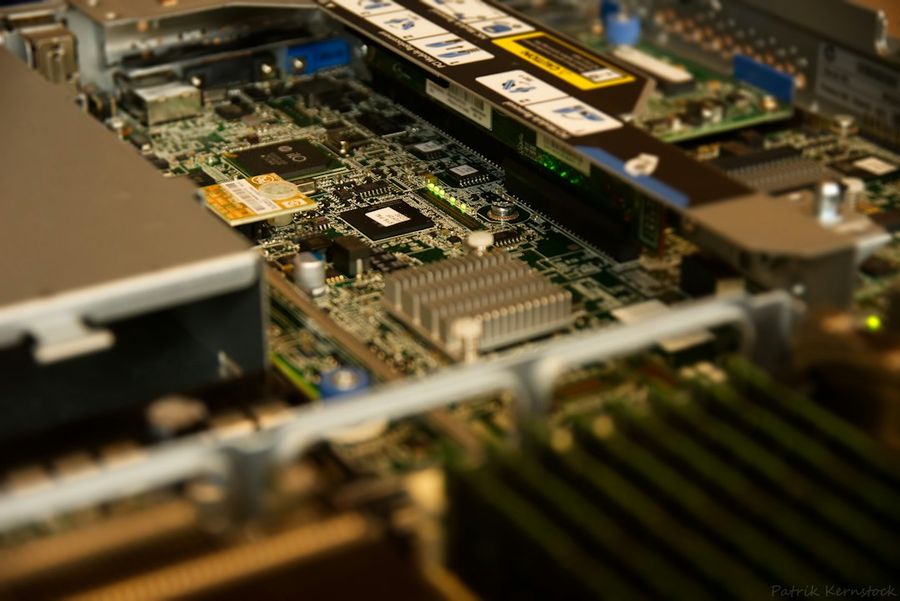
Running Kubernetes on bare metal gives you the raw performance of your hardware without the overhead of a hypervisor or cloud‑provider abstractions. In this guide we’ll walk through every step required to turn three or more identical servers into a resilient, production‑ready Kubernetes cluster. You’ll see exact commands, configuration snippets, and the rationale behind each decision so you can adapt the process to your own environment.
What You’ll Need
- At least three servers (one control‑plane node and two worker nodes) with identical CPU, RAM, and SSD specs.
- Ubuntu 22.04 LTS (or another supported Debian‑based distro) installed on each machine.
- Static IP addresses for every node and a separate IP for the cluster’s virtual IP (if you plan to use a load balancer).
- Root or sudo access on all servers.
- Basic networking knowledge (CIDR notation, firewall rules, etc.).
- A USB drive or network boot method for initial OS installation (optional but handy for large fleets).
Step 1: Prepare the Operating System
Start with a clean install of Ubuntu 22.04. During the installer, disable the automatic installation of third‑party software and avoid enabling the GUI – a minimal server install reduces attack surface and resource consumption.
After the OS boots, update the package index and install essential tools:
sudo apt update && sudo apt upgrade -y
sudo apt install -y curl gnupg2 software-properties-common apt-transport-https ca-certificates
Disable swap, as Kubernetes will refuse to start if swap is enabled:
sudo swapoff -a
sudo sed -i '/ swap / s/^/#/' /etc/fstab
Verify that swap is off:
free -h
Make sure the hostname resolves to the static IP you assigned, and add the other nodes to /etc/hosts for easy name resolution.
sudo hostnamectl set-hostname k8s-master
echo "192.168.10.10 k8s-master" | sudo tee -a /etc/hosts
echo "192.168.10.11 k8s-worker1" | sudo tee -a /etc/hosts
echo "192.168.10.12 k8s-worker2" | sudo tee -a /etc/hosts
Step 2: Configure Networking
Kubernetes expects certain kernel modules and sysctl parameters to be set for packet forwarding and bridge handling.
# Load required modules
sudo modprobe overlay
sudo modprobe br_netfilter
# Ensure they load on boot
echo -e "overlaynbr_netfilter" | sudo tee /etc/modules-load.d/k8s.conf
# Set sysctl params – required for iptables to see bridged traffic
cat <<EOF | sudo tee /etc/sysctl.d/k8s.conf
net.bridge.bridge-nf-call-iptables = 1
net.bridge.bridge-nf-call-ip6tables = 1
net.ipv4.ip_forward = 1
EOF
# Apply without reboot
sudo sysctl --system
If you are behind a firewall, open the ports listed in the official docs. For a minimal cluster, you’ll need:
- 6443/tcp – Kubernetes API server (control plane).
- 2379‑2380/tcp – etcd server client API (control plane only).
- 10250/tcp – Kubelet API.
- 10251/tcp – kube‑scheduler.
- 10252/tcp – kube‑controller‑manager.
On each node, run:
sudo ufw allow 6443/tcp
sudo ufw allow 2379:2380/tcp
sudo ufw allow 10250/tcp
sudo ufw allow 10251/tcp
sudo ufw allow 10252/tcp
sudo ufw enable
Step 3: Install the Container Runtime
While Docker is still supported, the Kubernetes community recommends containerd for a leaner footprint.
sudo apt-get install -y containerd
sudo mkdir -p /etc/containerd
sudo containerd config default | sudo tee /etc/containerd/config.toml
# Restart and enable the service
sudo systemctl restart containerd
sudo systemctl enable containerd
Verify the runtime is active:
systemctl status containerd
Step 4: Install kubeadm, kubelet, and kubectl
Add the official Kubernetes apt repository and install the three binaries. Keeping them at the same version avoids compatibility headaches.
curl -fsSL https://packages.cloud.google.com/apt/doc/apt-key.gpg | sudo apt-key add -
sudo apt-add-repository "deb http://apt.kubernetes.io/ kubernetes-xenial main"
sudo apt-get update
sudo apt-get install -y kubelet=1.28.0-00 kubeadm=1.28.0-00 kubectl=1.28.0-00
# Hold the packages at the installed version
sudo apt-mark hold kubelet kubeadm kubectl
Check versions:
kubeadm version
kubectl version --client
Step 5: Initialize the Control Plane
On the machine you designated as k8s-master, run kubeadm init. The most common flag is --pod-network-cidr, which must match the CIDR of the CNI you’ll install later. Here we’ll use Calico’s default 192.168.0.0/16.
sudo kubeadm init --pod-network-cidr=192.168.0.0/16 --control-plane-endpoint="k8s-master:6443"
The command outputs a kubeadm join line – copy it; you’ll need it for the worker nodes. Next, set up the local kubeconfig for the ubuntu (or your non‑root) user:
mkdir -p $HOME/.kube
sudo cp -i /etc/kubernetes/admin.conf $HOME/.kube/config
sudo chown $(id -u):$(id -g) $HOME/.kube/config
Deploy a CNI plugin. Calico is a solid default:
kubectl apply -f https://projectcalico.docs.tigera.io/manifests/calico.yaml
Wait until all pods in the kube-system namespace are Running:
kubectl get pods -n kube-system
Step 6: Join Worker Nodes and Verify the Cluster
On each worker node, run the kubeadm join command you saved earlier. It looks similar to:
sudo kubeadm join 192.168.10.10:6443 --token abcdef.0123456789abcdef
    --discovery-token-ca-cert-hash sha256:1234567890abcdef1234567890abcdef1234567890abcdef1234567890abcdef
After the join finishes, return to the master and list all nodes:
kubectl get nodes
You should see the master marked as Ready and each worker listed as Ready. To test the cluster, deploy a simple Nginx workload:
kubectl create deployment nginx --image=nginx:stable
kubectl expose deployment nginx --port=80 --type=NodePort
Find the assigned NodePort and curl the service from any node to confirm traffic flows correctly.
Common Mistakes to Avoid
1 Forgetting to disable swap. Kubernetes will refuse to start and you’ll see errors like Running with swap on is not supported.
2 Mismatched CNI CIDR. If the --pod-network-cidr flag doesn’t match the CNI’s configuration, pods will stay in Pending forever.
3 Using different kubelet versions. Even a minor version drift can cause API incompatibilities; always hold the packages after installation.
4 Neglecting firewall rules. Blocking the API server port (6443) will prevent workers from joining.
5 Running the join command as a non‑root user without sudo. The kubelet service won’t start, and the node will remain NotReady.
Tips and Tricks
• Use a dedicated network interface for cluster traffic to isolate it from management traffic.
• Enable SSH key authentication across all nodes to speed up repetitive commands (e.g., ssh-copy-id).
• Persist the kubeadm join token for a limited time (default 24 h) or generate a new one with kubeadm token create when needed.
• Leverage a load balancer (HAProxy or MetalLB) in front of the control‑plane nodes for high availability.
• Monitor with Prometheus‑Grafana stack early; it helps spot resource bottlenecks before they become production incidents.
Frequently Asked Questions
Can I use a different Linux distribution?
Yes. Kubernetes officially supports Ubuntu, Debian, CentOS/RHEL, and Rocky Linux. The commands differ slightly (e.g., yum vs apt), but the overall workflow remains the same.
Do I need a load balancer for the control plane?
For a single‑node control plane it’s optional, but in production you should run at least three control‑plane nodes behind a load balancer (or use an external virtual IP with keepalived) to avoid a single point of failure.
How do I upgrade the cluster to a newer Kubernetes version?
Upgrade in three phases: (1) upgrade the control plane with kubeadm upgrade plan && kubeadm upgrade apply vX.Y.Z, (2) drain each worker (kubectl drain NODE --ignore-daemonsets), upgrade kubelet/kubeadm on the node, then uncordon (kubectl uncordon NODE), and (3) verify pod health after each step.
Conclusion
Setting up Kubernetes on bare metal gives you unmatched control over performance, networking, and cost. By following the steps above—preparing the OS, configuring kernel networking, installing a lightweight container runtime, and using kubeadm to bootstrap the control plane—you’ll have a robust cluster ready for real workloads. Remember to double‑check swap, firewall rules, and CNI CIDR alignment, and you’ll avoid the most common pitfalls. Happy orchestrating!
Photo by Patrik Kernstock on Unsplash


