
Running a Linux server at home gives you the flexibility to host everything from personal cloud storage to a media streaming hub. But with that power comes responsibility: you must protect the machine from unwanted traffic, brute‑force attempts, and accidental exposure. A well‑configured firewall is the first line of defense, and it doesn’t have to be a black‑box you never touch again. In this guide we’ll walk through the entire process of hardening a home Linux server with a firewall, using tools that are already part of most distributions. By the end you’ll have a reproducible, logged, and maintainable rule set that keeps the good traffic in and the bad traffic out.
What You’ll Need
- A Linux server (Debian, Ubuntu, Fedora, or Arch are all fine)
- Root or sudo access
- Basic familiarity with the command line
- Internet connection for package installation
- A backup of any existing firewall configuration (if you have one)
Step 1: Assess Your Network Layout
Before you write a single rule, you need to know what traffic should be allowed. Sketch a quick diagram that includes:
- The server’s IP address (static is preferred)
- Internal devices that will connect (e.g., laptops, smartphones)
- External services you intend to expose (SSH, HTTP/HTTPS, VPN, etc.)
On the server, run ip a to confirm the interface name (usually eth0 or enp3s0) and the assigned IP. Knowing the exact interface helps you avoid broad rules that unintentionally affect other network adapters, such as a Wi‑Fi dongle you might plug in later.
Step 2: Choose and Install a Firewall Backend
Linux offers three popular front‑ends:
- iptables – the classic, mature netfilter tool
- nftables – the newer, more flexible replacement for iptables
- ufw (Uncomplicated Firewall) – a user‑friendly wrapper around iptables
For a home server we recommend ufw because it abstracts away the low‑level syntax while still letting you drop to raw iptables/nftables when needed. Install it with your package manager:
sudo apt update && sudo apt install ufw   # Debian/Ubuntu
sudo dnf install ufw                     # Fedora
sudo pacman -S ufw                       # Arch
If you prefer nftables, replace ufw with nftables and adjust the commands accordingly.
Step 3: Define Default Policies
The safest baseline is to deny everything and then explicitly allow what you need. With ufw this is a single command:
sudo ufw default deny incoming
sudo ufw default allow outgoing
This tells the kernel to drop all inbound packets unless a later rule says otherwise, while still permitting the server to initiate outbound connections (updates, DNS queries, etc.). If you ever need a stricter stance, you can also set default deny outgoing and add explicit outbound allowances.
Step 4: Open Essential Services
Now add rules for the services you actually want to expose. Below are common home‑server ports; adjust the numbers to match your configuration.
# SSH – keep it limited to your home network (replace 192.168.1.0/24 with your subnet)
sudo ufw allow from 192.168.1.0/24 to any port 22 proto tcp
# HTTP/HTTPS – if you run a web server
sudo ufw allow 80/tcp
sudo ufw allow 443/tcp
# VPN (WireGuard example)
sudo ufw allow 51820/udp
# Plex Media Server (optional)
sudo ufw allow 32400/tcp
Each rule is atomic, making it easy to audit later. Notice how the SSH rule is scoped to the local subnet – this prevents strangers on the internet from even seeing the SSH port, dramatically reducing brute‑force noise.
Step 5: Enable Logging for Insight
Logging gives you visibility into what the firewall is doing. Turn it on with a moderate level of detail:
sudo ufw logging on
Logs are written to /var/log/ufw.log (or syslog depending on your distro). You can tail them in real time:
sudo tail -f /var/log/ufw.log
When you see repeated “DENIED” entries from the same IP, consider adding a temporary block:
sudo ufw deny from 203.0.113.45
Remember to review logs regularly; blind logging without analysis gives you a false sense of security.
Step 6: Test the Rule Set
Never assume a rule works just because the command succeeded. Perform both local and remote tests.
- From the server itself, try connecting to the services you opened:
curl -I http://localhostorssh localhost. - From another device on the same LAN, repeat the test using the server’s LAN IP.
- From an external network (mobile data or a friend’s house), attempt to reach the public ports. If you don’t have a static IP, use a temporary port‑forward on your home router for testing.
If any service is unintentionally blocked, add a specific allow rule and reload ufw with sudo ufw reload. Conversely, if a port is open that you didn’t intend, remove it:
sudo ufw delete allow 1234/tcp
Step 7: Persist the Configuration and Automate Restarts
ufw stores its rules in /etc/ufw/ and enables itself at boot. Verify it’s set to start automatically:
sudo systemctl enable ufw
sudo systemctl status ufw
If you ever need to make bulk changes, edit the files directly (/etc/ufw/before.rules, /etc/ufw/user.rules) and then run sudo ufw reload. For advanced users who prefer nftables, you would place a .nft file in /etc/nftables.conf and enable the nftables service.
Step 8: Backup and Version‑Control Your Rules
Treat firewall configuration like code. Copy the rule files to a Git repository or at least a tarball you store off‑site:
sudo cp -r /etc/ufw ~/ufw-backup-$(date +%F)
cd ~
zip -r ufw-backup-$(date +%F).zip ufw-backup-$(date +%F)
When you reinstall the OS or migrate the server, you can restore the exact same rule set with a single cp and ufw reload. Version control also lets you see when a rule was added or removed, which is invaluable during security audits.
Common Mistakes to Avoid
Even seasoned admins slip up. Here are the pitfalls that most home‑server owners encounter:
- Leaving the default policy to “allow”. This defeats the purpose of a firewall. Always start with
deny incoming. - Opening ports to the world without restriction. Scope SSH, RDP, or database ports to your LAN or specific IP ranges.
- Forgetting to reload after editing rule files. Changes won’t take effect until you run
ufw reloador restart the service. - Disabling logging. Without logs you can’t spot scanning attempts or misbehaving applications.
- Mixing iptables and nftables rules. On newer distros iptables may be a compatibility layer; mixing them can cause duplicate or conflicting entries.
Tips and Tricks
Take your firewall from functional to elegant:
- Rate‑limit SSH. Prevent brute‑force bursts with
sudo ufw limit ssh/tcp. This automatically drops connections after 6 attempts in 30 seconds. - Use application profiles. Ubuntu ships
/etc/ufw/applications.d/files for common services. Enable them withsudo ufw allow "OpenSSH". - Group rules with comments. Add a comment to any rule for future reference:
sudo ufw allow 80/tcp comment 'Web server – public'. - Integrate with fail2ban. Fail2ban can insert temporary
ufwbans when it detects repeated failed logins. - Test with nmap from a remote host. Run
nmap -Pn -p- your.home.ipto verify that only the intended ports are open.
Frequently Asked Questions
Do I need both iptables and ufw?
No. ufw is a front‑end that translates its rules into iptables (or nftables) entries. Installing both separately can lead to duplicate chains and confusion. Stick with one management layer.
Can I use ufw on a server that already runs firewalld?
Technically you can, but it’s not recommended. Both daemons try to control the same netfilter tables, which can cause race conditions. Choose the firewall that matches your distribution’s default (firewalld on Fedora, ufw on Ubuntu) or disable one before enabling the other.
What if I need a temporary rule for troubleshooting?
Use the insert command to place a rule at the top of the list, and remember to delete it afterward:
sudo ufw insert 1 allow from 10.0.0.5 to any port 8080
# After testing
sudo ufw delete allow from 10.0.0.5 to any port 8080
Conclusion
Securing a home Linux server with a firewall is not a one‑time checklist; it’s an ongoing habit of reviewing, testing, and documenting. By following the eight steps above—assessing your network, installing a reliable front‑end, defining a deny‑by‑default stance, whitelisting only the services you need, enabling logging, testing thoroughly, automating startup, and backing up your rule set—you create a resilient barrier that stops most unsolicited traffic before it reaches your applications. Pair the firewall with regular system updates, strong passwords, and optional tools like fail2ban, and you’ll enjoy the peace of mind that comes with a well‑protected home server.
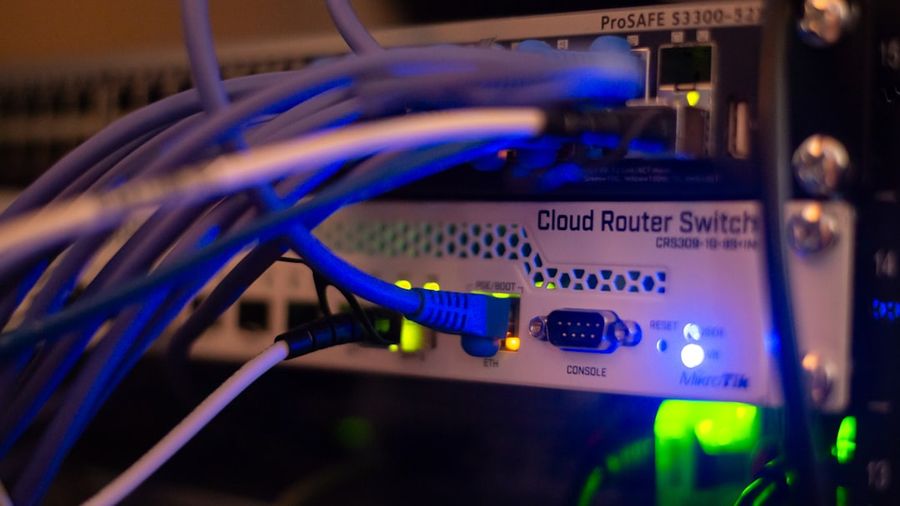
Photo by Albert Stoynov on Unsplash