
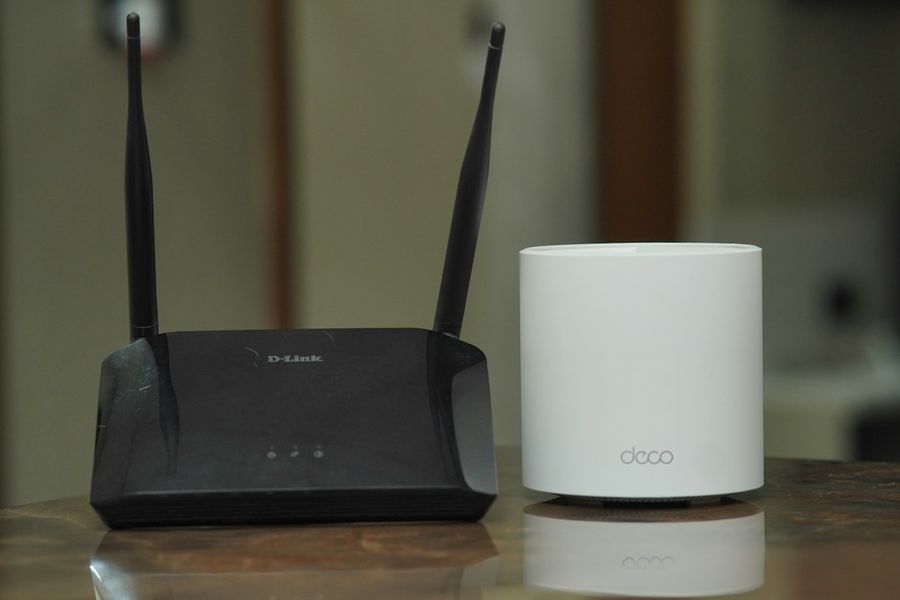
In an age where every smart device—from thermostats to televisions—relies on a wireless connection, the security of your home WiFi network is more critical than ever. WPA3, the latest WiFi security protocol, offers stronger encryption, protection against offline password cracking, and simplified device onboarding. If you’ve been using WPA2 for years, it’s time to make the switch. This guide walks you through the entire process, from checking router compatibility to configuring individual devices, while highlighting common mistakes and pro tips along the way.
What You’ll Need
- A WPA3‑compatible router (or firmware that adds WPA3 support)
- Administrator access to the router’s web interface
- One device (laptop, smartphone, or tablet) to perform the configuration
- Current WiFi password (for initial login)
- Optional: A wired Ethernet connection for a more stable setup experience
Step 1: Verify Router Compatibility and Update Firmware
Before you can enable WPA3, your router must support it. Check the model’s specifications on the manufacturer’s website or look for a “WPA3” badge on the device. If your router is relatively recent (released after 2020), it likely supports WPA3 either natively or via a firmware update.
To update the firmware:
- Connect your computer to the router via Ethernet (recommended) or WiFi.
- Open a web browser and enter the router’s IP address—commonly
192.168.1.1or192.168.0.1. - Log in with the admin username and password. If you never changed these, they’re often “admin/admin” or printed on a sticker.
- Navigate to the Firmware Update or System section.
- Download the latest firmware from the manufacturer’s support page (if the router can’t auto‑download).
- Upload the firmware file and let the router reboot. Do not interrupt the process.
After the reboot, log back in and confirm the firmware version matches the latest release. This step ensures you have the necessary code to enable WPA3.
Step 2: Access the Wireless Security Settings
With the router updated, locate the wireless security configuration:
- From the router dashboard, go to Wireless > Wi‑Fi Settings (the exact menu names vary by brand).
- Select the SSID (network name) you want to secure. If you run both 2.4 GHz and 5 GHz networks, you’ll need to configure each separately.
- Find the Security Mode dropdown. Options may include “WPA2‑Personal,” “WPA2/WPA3‑Mixed,” and “WPA3‑Personal.”
Choose WPA3‑Personal for the strongest protection. If you have older devices that cannot handle WPA3, select WPA2/WPA3‑Mixed to maintain backward compatibility while still offering WPA3 to capable devices.
Step 3: Set a Strong Passphrase
The passphrase (often called the WiFi password) is the first line of defense. WPA3 uses Simultaneous Authentication of Equals (SAE), which is resistant to offline dictionary attacks, but a weak password still makes it easier for an attacker to guess.
Guidelines for a strong passphrase:
- Minimum 12 characters; 16+ is ideal.
- Mix uppercase, lowercase, numbers, and special symbols.
- Avoid common words, birthdays, or patterns like “12345678”.
- Consider using a passphrase made of random words, e.g., “BlueOrbit!7Grove”.
Enter the new passphrase in the Password field and confirm it. Save the changes—your router will briefly disconnect all wireless clients while the new settings propagate.
Step 4: Enable Optional WPA3 Features
Many modern routers offer extra WPA3 enhancements that further harden your network:
- Protected Management Frames (PMF): Prevents spoofing of management traffic. Usually enabled by default with WPA3.
- Wi‑Fi Easy Connect (DPP): Allows QR‑code or NFC pairing for devices without a keyboard. If you have compatible devices, enable DPP for a frictionless onboarding experience.
To enable these, look for checkboxes labeled “Enable PMF” or “Enable DPP/QR code onboarding” within the same security settings page. Turn them on, then click Apply or Save.
Step 5: Reconnect Your Devices and Verify Encryption
After the router saves the new WPA3 settings, you’ll need to reconnect each device:
- On a smartphone or laptop, open the WiFi settings and select your SSID.
- If you chose WPA2/WPA3‑Mixed, the device may automatically negotiate the highest protocol it supports. For WPA3‑only networks, older devices will report “Cannot connect” – this is expected.
- Enter the new passphrase you created in Step 3.
To confirm that a device is using WPA3, inspect the connection details:
- On Windows 10/11:
netsh wlan show interfacesand look for “Authentication: WPA3‑SAE”. - On macOS: Hold Option and click the WiFi icon; the “Security” line should read “WPA3”.
- On Android 11+: Go to Settings → Network & Internet → WiFi → Your network → Security; it will display “WPA3”.
If any device still shows WPA2, double‑check that you selected the correct SSID and that the device’s WiFi chipset supports WPA3.
Step 6: Harden the Rest of Your Router Settings
Securing WiFi is only part of the puzzle. Harden the router itself to prevent attackers from exploiting the admin interface:
- Change the default admin password. Use a long, random password and store it in a password manager.
- Disable remote management unless you absolutely need to access the router from outside your home network.
- Enable the firewall if your router offers a built‑in one; most do by default.
- Turn off WPS (Wi‑Fi Protected Setup). Although convenient, WPS is known to be vulnerable.
- Set up a guest network for visitors, and keep it isolated from your main LAN.
These steps create multiple layers of defense, ensuring that even if a device is compromised, the attacker cannot easily pivot to the router’s control panel.
Common Mistakes to Avoid
Even seasoned users slip up when transitioning to WPA3. Here are the most frequent errors and how to prevent them:
- Leaving the router on WPA2‑only mode: After a firmware update, the security dropdown may revert to WPA2. Double‑check the setting before saving.
- Using a weak passphrase: WPA3’s SAE protects against offline cracking, but a short, common password still gives attackers a foothold.
- Forgetting to update device drivers: Some older laptops need a WiFi driver update to recognize WPA3. Visit the NIC manufacturer’s site for the latest drivers.
- Enabling WPA2/WPA3‑Mixed without realizing older devices will still use WPA2: Mixed mode is convenient, but it means vulnerable devices can still connect with weaker encryption.
- Disabling PMF or DPP unintentionally: These features add protection against deauthentication attacks and simplify onboarding. Keep them enabled unless you have a specific reason not to.
Tips and Tricks
Boost your WiFi security and performance with these extra measures:
- Use a password manager to generate and store the WPA3 passphrase. This eliminates the temptation to reuse passwords across services.
- Schedule regular firmware checks. Set a calendar reminder every three months to verify you’re running the latest router firmware.
- Enable network‑wide DNS filtering. Services like Quad9 or Cloudflare 1.1.1.1 block malicious domains at the DNS level.
- Segment IoT devices onto a separate VLAN or guest network. Even if an IoT device is compromised, the attacker won’t reach your primary devices.
- Run a periodic WiFi audit. Tools like
Wiresharkor the mobile app “WiFi Analyzer” can reveal rogue access points or misconfigured encryption.
Frequently Asked Questions
Do all my devices need to support WPA3?
No. If you enable WPA2/WPA3‑Mixed, older devices will fall back to WPA2 while newer ones use WPA3. However, for maximum security, consider upgrading or replacing devices that cannot support WPA3.
Will switching to WPA3 slow down my internet speed?
WPA3 adds a slightly larger handshake, but the impact on throughput is negligible on modern hardware. Any perceived slowdown is usually due to other factors, such as channel congestion.
Can I still use WPS after enabling WPA3?
WPS is a separate feature that works with WPA2 and WPA3, but it is widely regarded as insecure. It’s best to disable WPS and rely on manual passphrase entry or WPA3’s Easy Connect (DPP) for device onboarding.
Conclusion
Securing your home WiFi with WPA3 is a straightforward yet powerful upgrade that shields your network from modern attacks. By confirming router compatibility, updating firmware, configuring a strong passphrase, and fine‑tuning additional security settings, you create a robust defense that protects every device under your roof. Remember to avoid common pitfalls, keep your firmware current, and regularly audit your network. With these practices in place, you can enjoy the convenience of wireless connectivity without compromising on safety.
Photo by TechieTech Tech on Unsplash


