
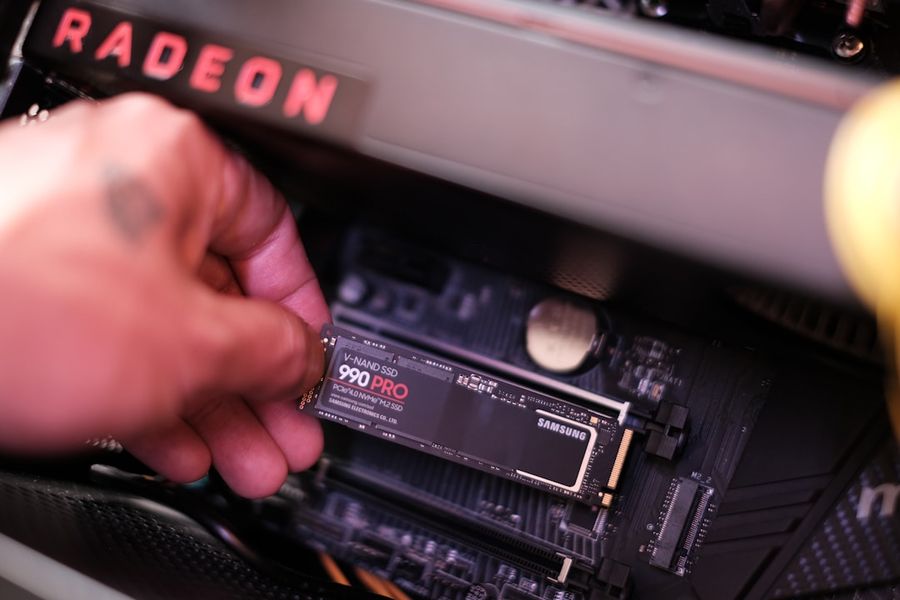
Welcome to our comprehensive guide on how to install an SSD and transfer your OS, designed specifically for beginners. Upgrading to a solid-state drive (SSD) can significantly enhance your computer’s performance, making it faster and more efficient. In this article, we will walk you through the process of installing an SSD and transferring your operating system, highlighting common mistakes to avoid and providing valuable tips and tricks along the way.
What You’ll Need
- A solid-state drive (SSD) compatible with your computer
- A backup of your current operating system and data
- A USB drive for creating a bootable installation media
- A screwdriver for opening your computer case
- Cloning software (optional)
Step 1: Prepare Your Computer and SSD
Before you begin, ensure your computer is turned off and unplugged from the power source. Ground yourself by touching a metal object or wearing an anti-static wrist strap to prevent damage to your components. Open your computer case and locate an available SATA port to connect your SSD.
Step 2: Connect the SSD
Connect one end of the SATA cable to the SSD and the other end to the available SATA port on your motherboard. If your SSD uses a different interface (like PCIe or M.2), consult your motherboard manual for the correct installation procedure. Secure the SSD in an available drive bay using screws provided with your computer or the SSD packaging.
Step 3: Create a Bootable Installation Media
Insert your USB drive into a working computer and download the media creation tool for your operating system (e.g., Microsoft’s Media Creation Tool for Windows or the bootable USB tool for macOS). Follow the on-screen instructions to create a bootable USB drive. This will be used to install your OS on the new SSD.
Step 4: Clone Your Existing OS (Optional)
If you wish to clone your existing OS and data to the new SSD, download and install cloning software (such as Acronis True Image or EaseUS Todo Backup) on your current system. Follow the software’s instructions to clone your existing drive to the SSD. This step can save you time by transferring all your settings, programs, and files to the new SSD.
Step 5: Install Your OS on the SSD
Insert the bootable USB drive into your computer and restart it. Enter the BIOS settings (usually by pressing F2, F12, or DEL) and set the USB drive as the first boot device. Save the changes and exit the BIOS settings. Your computer will now boot from the USB drive. Follow the on-screen instructions to install your OS on the SSD. Ensure you select the correct drive for installation to avoid overwriting your existing data.
Step 6: Activate Your OS and Install Drivers
Once the installation is complete, activate your OS using the product key provided with your purchase or embedded in your computer’s BIOS. Then, install the necessary drivers for your hardware. You can usually find these on the manufacturer’s website or through the OS’s built-in device manager.
Step 7: Transfer Your Data (If Not Cloned)
If you didn’t clone your existing drive, you’ll need to transfer your data manually. Connect your old drive to the computer (either by reinstalling it or using a USB enclosure) and copy your files to the new SSD. You may also need to reinstall your programs and configure your settings as they were before.
Common Mistakes to Avoid
One of the most common mistakes is incorrectly connecting the SSD, which can lead to it not being recognized by the BIOS or the OS installation failing. Another mistake is forgetting to back up your data before starting the process, which can result in data loss. Always ensure you have a complete backup before proceeding with the upgrade.
Tips and Tricks
To maximize the performance of your SSD, ensure it’s properly aligned and that you’re using the latest firmware. Regularly update your drivers and keep your OS and software up to date. Consider enabling the TRIM command in your OS to maintain the SSD’s performance over time.
Frequently Asked Questions
Q: Will I lose my data if I install an SSD and transfer my OS?
A: Not if you follow the steps correctly and back up your data before starting the process. Cloning your existing drive or manually transferring your files after the installation ensures your data is preserved.
Q: Can I use my SSD and old HDD together?
A: Yes, you can use both drives simultaneously. The SSD can serve as your primary drive for your OS and programs, while the old HDD can be used for storing larger files and data.
Q: How long does the installation and transfer process take?
A: The time required can vary based on the size of your OS, the amount of data to be transferred, and the speeds of your SSD and old drive. On average, the installation process can take about 30 minutes to an hour, while cloning or transferring data can take several hours depending on the amount of data.
Conclusion
Upgrading to an SSD and transferring your OS is a straightforward process that can significantly enhance your computer’s performance. By following the steps outlined in this guide and avoiding common mistakes, you can enjoy faster boot times, improved responsiveness, and an overall better computing experience. Remember to always back up your data and take necessary precautions to prevent any potential issues during the upgrade.
Photo by Samsung Memory on Unsplash


