
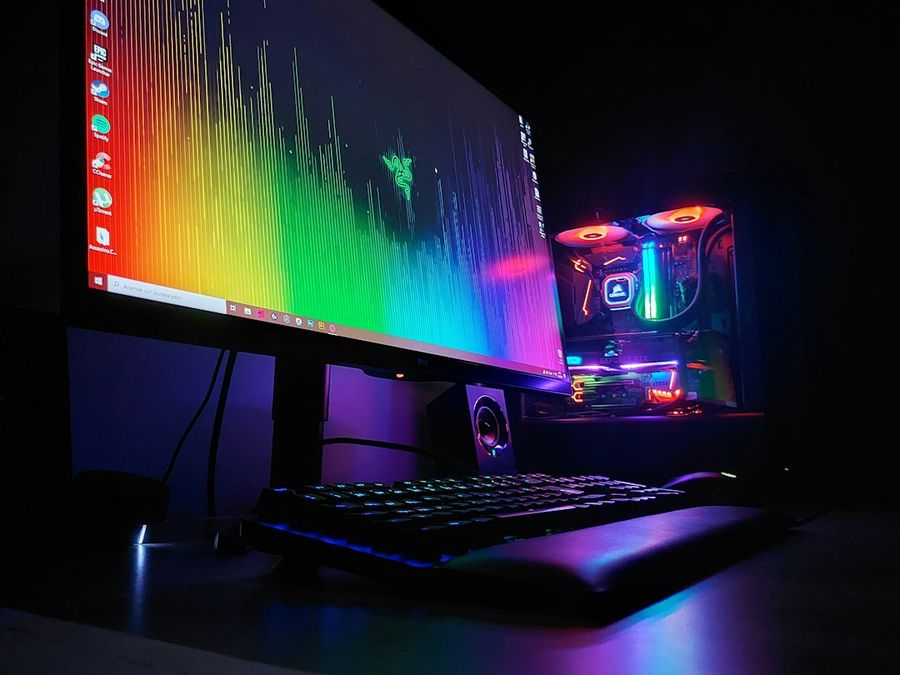
Building a gaming PC that can run the latest titles at 1080p or even 1440p doesn’t have to drain your savings. With careful component selection, a bit of research, and a methodical approach, you can assemble a machine that punches well above its price tag. This guide walks you through every decision point, from budgeting to final tweaks, so you end up with a reliable, future‑proof rig without the sticker shock.
What You’ll Need
- CPU – a mid‑range processor that balances cores and clock speed (e.g., AMD Ryzen 5 5600 or Intel Core i5‑12400).
- GPU – the heart of any gaming PC; look for value models like the NVIDIA GTX 1660 Super, AMD Radeon RX 6600, or used RTX 2060.
- Motherboard – compatible with your CPU socket and offering essential features (B550 for AMD, B660 for Intel).
- RAM – 16 GB (2 × 8 GB) DDR4 3200 MHz is the sweet spot for most games.
- Storage – a 500 GB–1 TB NVMe SSD for OS and games, plus an optional 1 TB HDD for bulk storage.
- Power Supply Unit (PSU) – 550 W–650 W 80+ Bronze certified, from a reputable brand.
- Case – a budget‑friendly mid‑tower with good airflow (e.g., NZXT H510 or Cooler Master MasterBox NR600).
- Cooling – stock CPU cooler (often included) plus a couple of case fans.
- Peripherals – monitor, keyboard, mouse, and headset (outside the scope of the build but worth budgeting for).
- Tools – a magnetic screwdriver set, anti‑static wrist strap, and zip ties for cable management.
Step 1: Define Your Gaming Goals and Budget
Before you click “add to cart,” decide which games you’ll play and at what resolution. A 1080p 60 fps target allows you to stretch a $800–$900 budget, while 1440p 144 fps pushes you toward $1,200. Write down a hard ceiling and allocate percentages: roughly 30 % for CPU, 35 % for GPU, 15 % for RAM, 10 % for storage, and the remainder for PSU, case, and accessories. This spreadsheet‑style budgeting prevents overspending on a single component.
Step 2: Choose the Right CPU and GPU Pair
The CPU‑GPU balance is crucial. Pairing a high‑end GPU with a weak CPU creates a bottleneck, while an expensive CPU with a low‑end GPU wastes money. For a budget build, the AMD Ryzen 5 5600 (6 cores/12 threads, 3.5 GHz boost) or Intel Core i5‑12400 (6 cores/12 threads, 4.4 GHz boost) pairs nicely with a GTX 1660 Super or an RTX 2060 (used). If you can stretch a little, the Radeon RX 6600 offers better power efficiency at a similar price point. Check benchmark tables (e.g., GPUCheck.com) to confirm that the chosen GPU isn’t throttled by the CPU at your target resolution.
Step 3: Select a Compatible Motherboard
Match the motherboard chipset to your CPU socket (AM4 for Ryzen 5 5600, LGA1700 for i5‑12400). Look for B550 (AMD) or B660 (Intel) boards – they provide PCIe 4.0 support for future GPU upgrades without the premium of X‑series chips. Verify that the board has at least two M.2 slots (for NVMe SSDs) and enough SATA ports for additional storage. Pay attention to VRM quality; a modest 6‑phase design is sufficient for non‑overclocked builds, but avoid ultra‑cheap boards that use “plastic” power phases.
Step 4: Pick Memory, Storage, and Power Supply
Memory: 16 GB DDR4 3200 MHz is the sweet spot for current titles. Opt for a dual‑channel kit (2 × 8 GB) to maximize bandwidth. Brands like Corsair Vengeance LPX or G.Skill Ripjaws V offer reliable performance at low cost.
Storage: An NVMe SSD dramatically reduces load times. The Crucial P2 500 GB or WD Blue SN550 are affordable options. If you need more space for a large game library, add a 1 TB 7200 RPM HDD – it won’t affect game performance but provides cheap bulk storage.
Power Supply: Choose a unit with an 80+ Bronze rating and enough headroom for future upgrades. A 550 W PSU from Corsair CX550M or Seasonic S12III is both safe and inexpensive. Always buy a modular or semi‑modular PSU to simplify cable routing.
Step 5: Assemble the Core Components
1. Open the case and install the I/O shield that came with the motherboard.
2. Align the motherboard with the standoffs and secure it with the supplied screws.
3. Insert the CPU – lift the retention arm, match the corner markings, and gently place the chip. Lower the arm to lock it in place.
4. Apply a pea‑sized amount of thermal paste (if the cooler doesn’t have pre‑applied paste) and mount the CPU cooler according to the manual.
5. Slot the RAM into the correct DIMM channels (usually A2 and B2) and press firmly until the clips click.
6. Install the M.2 SSD by inserting it at an angle, then securing it with the tiny screw.
7. Mount the PSU in the bottom or top of the case (depending on design), screw it in, and route the 24‑pin ATX and 8‑pin CPU power cables.
8. Place the GPU into the primary PCIe x16 slot, ensure it’s fully seated, and screw it to the case bracket.
9. Connect the GPU’s 6‑pin or 8‑pin power connector from the PSU.
10. Connect case front‑panel connectors (power switch, reset switch, USB, audio) to the motherboard header.
11. Route remaining cables (SATA power, SATA data, fan connectors) and tidy them with zip ties. Double‑check that no cables obstruct airflow.
Step 6: Install the Operating System and Drivers
Plug a USB flash drive (at least 8 GB) with the Windows 10/11 Media Creation Tool or a Linux distro. Boot the system, enter the BIOS (usually Delete or F2), set the USB as the primary boot device, and enable XMP/DOCP to run the RAM at its rated 3200 MHz speed. Save and restart, then follow the OS installation prompts. Once Windows is up, run Windows Update, then install the latest chipset drivers from AMD or Intel, GPU drivers from NVIDIA or AMD, and any motherboard utilities. Reboot after each driver install.
Step 7: Optimize Settings for Performance and Budget
In the GPU control panel, set the power management mode to “Prefer maximum performance” and enable “Low latency mode” for smoother gameplay. Use a free tool like MSI Afterburner to set a modest 5 % overclock on the GPU core clock and a 10 % increase on memory clock – this usually yields a 3–5 % FPS bump without extra heat. Enable Windows Game Mode and disable unnecessary startup programs via Task Manager. Finally, run a benchmark (e.g., 3DMark Time Spy) to verify that your FPS numbers align with expectations for your component combo.
Common Mistakes to Avoid
• Ignoring the power requirements: an under‑powered PSU can cause random reboots or component damage.
• Skipping XMP/DOCP: running RAM at its default 2133 MHz wastes potential performance.
• Using the wrong CPU socket or BIOS version: always confirm motherboard compatibility before purchase.
• Over‑tightening screws: this can crack the motherboard or strip standoffs.
• Forgetting to ground yourself: static discharge can destroy sensitive chips – use an anti‑static wrist strap or touch a metal part of the case frequently.
Tips and Tricks
– Hunt for refurbished or open‑box GPUs on reputable sites; you can save 15–30 % off retail.
– Reuse a solid‑state drive from an old laptop as a secondary storage device – just check the form factor.
– Paint the interior of the case matte black to reduce glare and improve perceived airflow.
– Use the BIOS “Fast Boot” option to shave off a few seconds from POST time.
– Keep your drivers up to date, but avoid “beta” releases unless you need a specific fix.
Frequently Asked Questions
How much should I spend on a budget gaming PC?
For a solid 1080p 60 fps experience, aim for $800–$950 total, including peripherals. If you can stretch to $1,200, you’ll comfortably hit 1440p 144 fps on many titles.
Can I reuse parts from an old PC?
Yes. Cases, power supplies (if they’re 80+ Bronze or better), HDDs, and even some RAM modules can be transferred, provided they meet the new build’s specifications. Verify that the old PSU has enough wattage and the correct connectors for the new GPU.
Do I really need a dedicated GPU?
For modern AAA games at 1080p, a dedicated GPU is essential. Integrated graphics on Ryzen 5 5600G or Intel i5‑12400 can handle older or indie titles, but you’ll miss out on smooth performance in demanding games.
Conclusion
Building a budget gaming PC is a rewarding blend of planning, research, and hands‑on assembly. By defining clear goals, choosing balanced components, and following a disciplined build process, you can achieve a high‑performance rig for a fraction of the cost of pre‑built alternatives. Remember to double‑check compatibility, stay grounded (literally), and enjoy the satisfaction of gaming on a machine you built yourself.
Photo by Resul Kaya on Unsplash


