
PowerShell has become the go‑to shell for Windows administrators who want to replace repetitive mouse clicks with clean, repeatable scripts. In this guide we’ll walk through everything you need to start automating everyday Windows tasks—file cleanup, scheduled reporting, user provisioning, and more. By the end you’ll have a reusable framework you can extend to any scenario, plus a handful of best‑practice tips to keep your scripts safe and maintainable.
What You'll Need
- Windows 10/11 (or Windows Server 2016+)
- PowerShell 5.1 or PowerShell 7.x installed
- Administrative rights on the machine you plan to script
- Basic familiarity with the Windows file system and command line
- A text editor such as Visual Studio Code with the PowerShell extension
Step 1: Set Up a Secure Execution Environment
Before you run any script, make sure PowerShell is configured to allow script execution while still protecting you from untrusted code. Open an elevated PowerShell console and run:
Set-ExecutionPolicy -ExecutionPolicy RemoteSigned -Scope CurrentUser
RemoteSigned permits scripts you write locally while requiring a trusted signature for scripts downloaded from the internet. Remember to revert to a stricter policy (AllSigned or Restricted) on production machines once you’re done testing.
Step 2: Create a Reusable Script Module
Instead of scattering one‑off scripts across your desktop, store reusable functions in a module. Create a folder C:ScriptsMyAutomation and add a file called MyAutomation.psm1. Inside, define a simple function that clears temporary files:
function Clear-TempFiles {
    $tempPath = "$env:LOCALAPPDATATemp"
    Get-ChildItem -Path $tempPath -Recurse -Force | Remove-Item -Force -Recurse -ErrorAction SilentlyContinue
    Write-Host "Temporary files removed from $tempPath"
}
Save the file, then import the module in any script with Import-Module C:ScriptsMyAutomationMyAutomation.psm1. Using modules keeps your code organized and makes version control painless.
Step 3: Automate a Routine Task – Disk Space Monitoring
Monitoring free disk space is a classic admin job. Create a script Check-DiskSpace.ps1 that sends an email when a drive falls below a threshold:
$threshold = 15 # percent free
$drives = Get-PSDrive -PSProvider FileSystem
foreach ($drive in $drives) {
    $freePct = ($drive.Free / $drive.Used) * 100
    if ($freePct -lt $threshold) {
        $subject = "Low Disk Space Alert: $($drive.Name):"
        $body = "Only {0:N2}% free on $($drive.Name):" -f $freePct
        Send-MailMessage -From admin@yourdomain.com -To it@yourdomain.com -Subject $subject -Body $body -SmtpServer smtp.yourdomain.com
    }
}
Schedule this script to run daily (see Step 5). Adjust $threshold and SMTP details for your environment.
Step 4: Leverage PowerShell Remoting for Remote Tasks
PowerShell remoting lets you run commands on multiple computers from a single console. First, enable it on the target machines:
Enable-PSRemoting -Force
Then, from your admin workstation, you can invoke a command on a remote PC:
Invoke-Command -ComputerName Server01 -ScriptBlock { Get-EventLog -LogName System -Newest 10 }
Wrap remote calls in a function to centralize credentials and error handling. For example, a function that restarts a service on any server:
function Restart-RemoteService {
    param([string]$Computer, [string]$ServiceName)
    Invoke-Command -ComputerName $Computer -ScriptBlock {
        param($svc)
        Restart-Service -Name $svc -Force
    } -ArgumentList $ServiceName -ErrorAction Stop
    Write-Host "Service $ServiceName restarted on $Computer"
}
This pattern scales nicely when you need to patch dozens of machines.
Step 5: Schedule Your Scripts with Registered Jobs
Instead of the legacy Task Scheduler UI, use PowerShell’s Register-ScheduledJob cmdlet. It stores the job definition in PowerShell, making it easier to version and edit. Example:
Register-ScheduledJob -Name "DiskSpaceMonitor" -ScriptBlock { & "C:ScriptsCheck-DiskSpace.ps1" } -Trigger (New-JobTrigger -Daily -At 07:00) -RunNow
This creates a daily job that runs at 7 AM. You can list, modify, or remove jobs with Get-ScheduledJob, Set-JobTrigger, and Unregister-ScheduledJob respectively. Remember to test the script interactively before registering it.
Step 6: Log Output and Handle Errors Gracefully
Robust automation always logs what it did and captures failures. Use Start-Transcript at the beginning of your script and Stop-Transcript at the end:
Start-Transcript -Path "C:LogsAutomation_$(Get-Date -Format yyyyMMdd_HHmm).log" -Append
try {
    # Your automation logic here
} catch {
    Write-Error "An error occurred: $_"
    # Optionally send an alert
} finally {
    Stop-Transcript
}
Combine this with Write-Verbose and Write-Error to control the level of detail. When you run the script with -Verbose, you’ll see the extra diagnostic messages.
Common Mistakes to Avoid
1 Running scripts with the wrong execution policy. Forgetting to set RemoteSigned or using Unrestricted can expose you to malicious scripts.
2 Hard‑coding credentials. Store passwords in the Windows Credential Manager and retrieve them with Get-Credential or ConvertTo-SecureString.
3 Assuming all commands work the same on PowerShell 5.1 and PowerShell 7. Some cmdlets have been renamed or moved; always test on the target version.
4 Neglecting error handling. Scripts that silently fail leave you unaware of broken automation. Use try / catch blocks and check $? after critical commands.
5 Overlooking logging. Without logs you can’t troubleshoot. Keep logs rotated and archived.
Tips and Tricks
Use splatting for readability. Instead of a long parameter list, create a hashtable and splat it: $params = @{Path='C:Temp';Recurse=$true;Force=$true}; Get-ChildItem @params.
Leverage the pipeline. Pipe objects directly to Export-Csv or ConvertTo-Json to generate reports without intermediate variables.
Profile your scripts. Measure-Command { … } helps you spot performance bottlenecks.
Take advantage of VS Code IntelliSense. The PowerShell extension offers autocomplete, inline documentation, and a built‑in debugger—essential for intermediate users.
Modularize with functions. Keep each function focused on a single task; this makes unit testing with Pester straightforward.
Frequently Asked Questions
Can I run PowerShell scripts on Windows 10 Home?
Yes. PowerShell 5.1 ships with all editions of Windows 10, and PowerShell 7 can be installed side‑by‑side. The only limitation is that certain remoting features (like WinRM) may be disabled by default on Home editions, but you can enable them manually.
Do I need to be an administrator to schedule a job?
Scheduling a job for the current user does not require elevation, but if the script performs privileged actions (e.g., modifying system services) you’ll need to run the job with elevated credentials. Use the -RunAs32 switch or create a scheduled task that runs with highest privileges.
How do I distribute my scripts across multiple machines?
Package your module into a PowerShell Gallery package or a zip file, then use Install-Module or Copy-Item in a deployment script. For larger environments, consider using DSC (Desired State Configuration) or a configuration management tool like Ansible for Windows.
Conclusion
PowerShell gives you a powerful, scriptable interface to the Windows operating system. By setting a safe execution policy, organizing code into modules, handling errors, and scheduling jobs, you can turn repetitive admin chores into reliable, hands‑free processes. Keep the common pitfalls in mind, apply the tips above, and you’ll find yourself automating more tasks than you ever imagined—freeing up valuable time for strategic work.
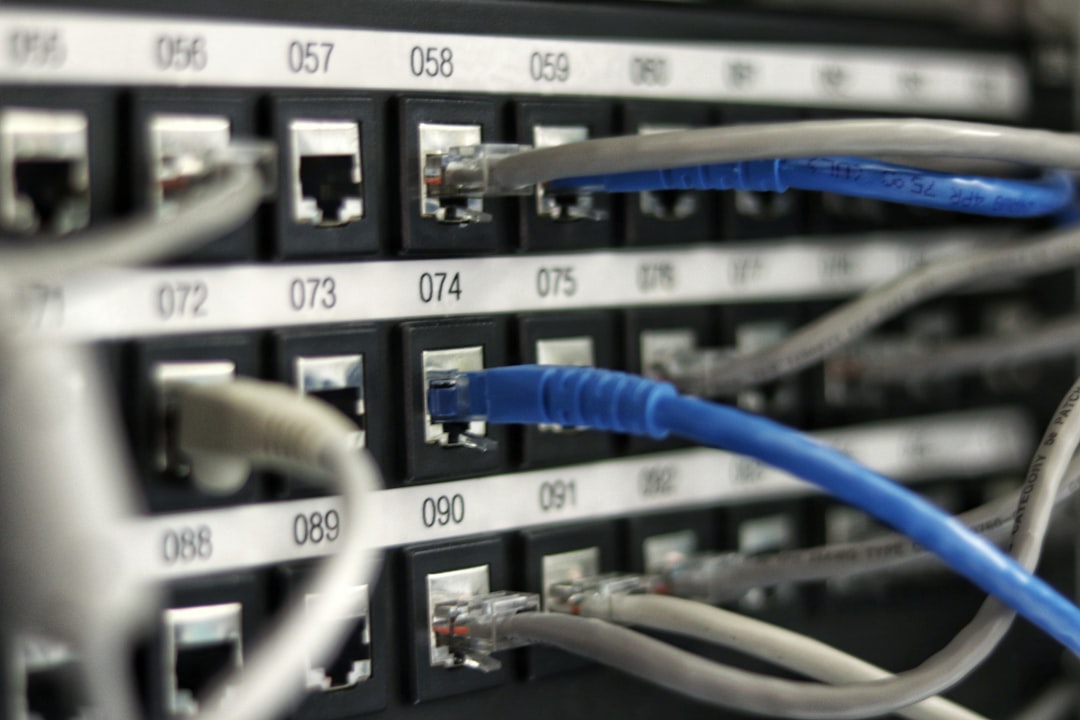
Photo by Chris Ried on Unsplash