Internet of Things (IoT) gadgets—smart thermostats, cameras, voice assistants, and even connected light bulbs—bring convenience, but they also expand the attack surface of your home or office network. Unlike laptops or smartphones, many IoT devices run stripped‑down firmware, lack regular updates, and often ship with default credentials. This guide walks you through a practical, step‑by‑step process to harden those devices, detect suspicious traffic, and keep intruders at bay.
What You’ll Need
- A router or firewall that supports custom rules (e.g., OpenWrt, pfSense, or a commercial router with advanced settings)
- Access to the device’s admin interface (web UI or SSH)
- Basic networking tools: ping, nmap, Wireshark, and a terminal (Linux/macOS) or PowerShell (Windows)
- Strong, unique passwords and a password manager
- Optional: A separate VLAN or guest network for IoT devices
Step 1: Inventory and Segregate Your IoT Devices
Before you can protect anything, you need to know what you have. Use nmap -sn 192.168.1.0/24 to scan your LAN and note every MAC address that belongs to an IoT vendor (look for OUIs like 68:37:E9 for Amazon Echo). Create a spreadsheet with columns for device name, IP, MAC, firmware version, and vendor support status. Once documented, move all IoT devices onto a dedicated VLAN or a guest Wi‑Fi network. In OpenWrt, you can add a new interface under Network → Interfaces → Add new interface, assign it to a separate subnet (e.g., 192.168.50.0/24), and enable Isolate Clients to prevent cross‑communication.
Step 2: Change Default Credentials and Enable Multi‑Factor Authentication
Manufacturers love default logins like admin/admin or root/root. Log into each device’s web UI or SSH console and replace those with a long, random password (at least 16 characters). If the device supports MFA—many newer smart hubs do—enable it immediately. For example, on a Nest Hub you can link your Google Account and turn on Two‑Step Verification in the Google security settings. Record the new credentials in a password manager; never write them down on paper.
Step 3: Update Firmware and Enable Automatic Patches
Outdated firmware is the single biggest risk. Check the vendor’s support page for the latest version, then follow the device’s update procedure (often a “Check for updates” button in the UI). Where possible, enable automatic updates. On a Raspberry Pi‑based camera, you can schedule nightly upgrades with:
sudo apt update && sudo apt full-upgrade -yFor devices that lack OTA support, set a calendar reminder to check manually every month.
Step 4: Harden Network Traffic with Firewall Rules
Restrict inbound and outbound traffic to only what the device needs. On a pfSense box, create an alias called IoT_Devices that includes the VLAN subnet, then add rules like:
# Block all inbound traffic to IoT VLAN
block in quick on IoT_Devices from any to IoT_Devices
# Allow only DNS (UDP 53) and NTP (UDP 123) outbound
pass out quick on IoT_Devices proto udp to any port {53,123}
# Allow HTTP/HTTPS for firmware checks
pass out quick on IoT_Devices proto tcp to any port {80,443}
If you’re using a consumer router with iptables access, you can achieve a similar lock‑down with:
iptables -A FORWARD -i wlan0 -o eth0 -s 192.168.50.0/24 -p tcp --dport 22 -j DROP
iptables -A FORWARD -i wlan0 -o eth0 -s 192.168.50.0/24 -p udp --dport 53 -j ACCEPT
iptables -A FORWARD -i wlan0 -o eth0 -s 192.168.50.0/24 -j DROP
These rules ensure IoT devices can resolve DNS, sync time, and download updates, but nothing else.
Step 5: Enable Network Monitoring and Intrusion Detection
Even a well‑hardened network can be probed. Deploy a lightweight IDS such as Snort or Suricata on your router or a dedicated Raspberry Pi. Install with:
sudo apt install snortThen configure a basic rule set to alert on common IoT exploits:
alert tcp any any -> $HOME_NET 23 (msg:"Potential Telnet brute‑force"; sid:1000001;)Forward alerts to your phone via email or a Telegram bot. For quick visibility, run tcpdump -i eth0 host 192.168.50.10 -w iot_traffic.pcap when you suspect abnormal behavior, then open the capture in Wireshark.
Step 6: Disable Unnecessary Services and Ports
Many IoT devices ship with services like Telnet, FTP, or UPnP enabled by default. These are rarely needed and are prime entry points. On a device that runs Linux (e.g., a smart plug based on OpenWrt), list active listeners:
netstat -tulnIf you see 0.0.0.0:23 (Telnet) or 0.0.0.0:21 (FTP), disable them:
/etc/init.d/telnet stop && /etc/init.d/telnet disable
/etc/init.d/ftp stop && /etc/init.d/ftp disable
For commercial devices without a shell, look for a “Remote Access” toggle in the UI and turn it off unless you truly need it.
Common Mistakes to Avoid
1 Leaving devices on the main Wi‑Fi network. Mixing IoT with laptops gives attackers a bridge to more valuable assets.
2 Using the same password across multiple devices. A single breach can compromise the entire ecosystem.
3 Disabling security updates. Firmware patches often fix critical vulnerabilities.
4 Opening “Allow All” firewall rules for convenience. This defeats the purpose of segmentation.
5 Neglecting to change default SSID names. Names like “SmartHome‑Camera” give attackers clues about device types.
Tips and Tricks
• Static IPs for IoT. Assign each device a reserved IP in your router’s DHCP lease table; it simplifies rule creation.
• Use a password manager with a generator. Random 20‑character strings are far stronger than anything you could remember.
• Enable DNS over HTTPS (DoH). This prevents DNS spoofing attacks that could redirect your devices to malicious update servers.
• Regularly audit open ports. A monthly nmap -sS -p- 192.168.50.0/24 sweep catches accidental service re‑enables.
• Backup configurations. Export your router and device settings before making major changes so you can roll back quickly.
Frequently Asked Questions
Can I protect IoT devices without a separate VLAN?
Yes, you can use a guest Wi‑Fi network that isolates clients, but VLANs give you finer control over routing and firewall policies. If your router lacks VLAN support, a dedicated hardware firewall (e.g., a small pfSense box) is the next best option.
What if a device doesn’t support firmware updates?
Treat it as a high‑risk asset. Either replace it with a supported model or place it on a network segment that has no outbound Internet access, limiting its exposure.
Is disabling UPnP safe?
Absolutely. UPnP is convenient but often abused by malware to open ports automatically. Disabling it on both router and device side removes that attack vector without affecting most IoT functionality.
Conclusion
Securing IoT devices is a blend of inventory management, network segmentation, disciplined credential practices, and ongoing monitoring. By following the six steps above—inventorying, changing defaults, updating firmware, tightening firewall rules, deploying IDS, and disabling unnecessary services—you’ll dramatically lower the risk of a network intrusion. Remember, security is a habit, not a one‑time project; schedule quarterly reviews, keep an eye on vendor advisories, and enjoy the peace of mind that comes with a hardened smart environment.
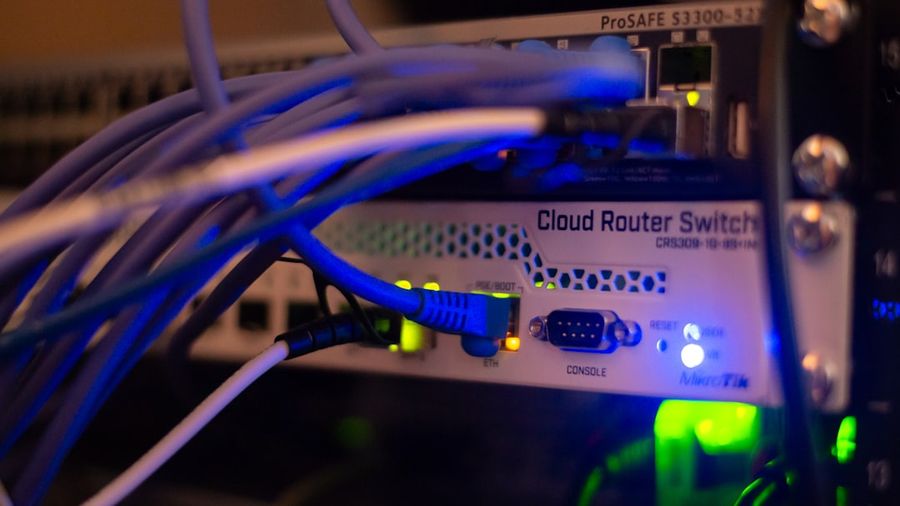
Photo by Dan Nelson on Unsplash