
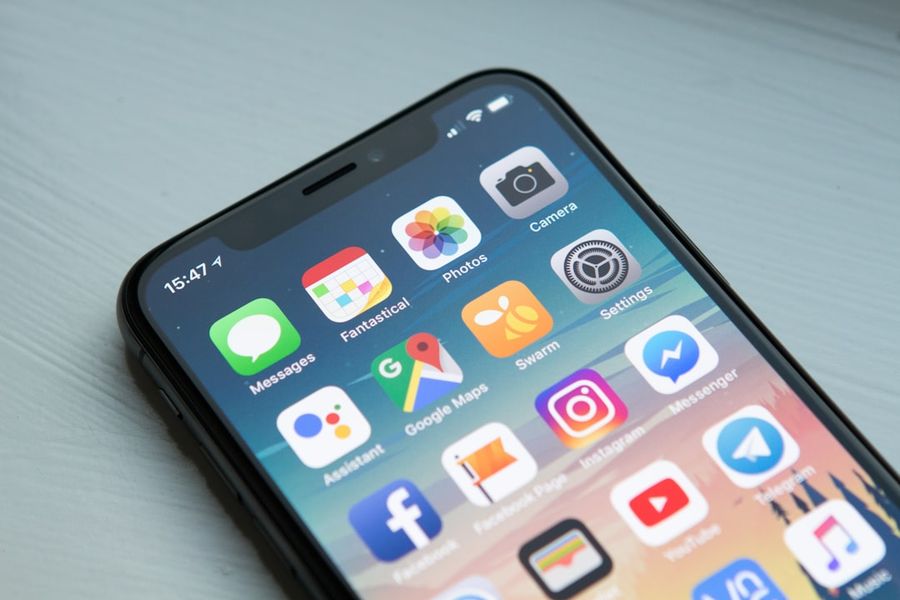
Welcome to our comprehensive guide on how to develop a mobile application using Flutter. In this article, we will walk you through the process of creating a mobile app using Flutter, a popular cross-platform framework developed by Google. Whether you’re an experienced developer or just starting out, this guide will provide you with the knowledge and skills needed to create a high-quality mobile app.
What You’ll Need
- Flutter SDK installed on your computer
- A code editor or IDE (such as Android Studio or Visual Studio Code)
- A physical device or emulator for testing
- Basic knowledge of programming concepts (such as variables, data types, and control structures)
Step 1: Setting Up Your Development Environment
To get started with Flutter, you’ll need to set up your development environment. This includes installing the Flutter SDK, setting up your code editor or IDE, and configuring your physical device or emulator for testing. To install the Flutter SDK, open a terminal or command prompt and run the following command: git clone https://github.com/flutter/flutter.git. Then, follow the instructions on the Flutter website to complete the installation process.
Step 2: Creating a New Flutter Project
Once you’ve set up your development environment, you can create a new Flutter project. To do this, open a terminal or command prompt and navigate to the directory where you want to create your project. Then, run the following command: flutter create my_app (replace “my_app” with the name of your app). This will create a new Flutter project with the basic directory structure and files needed to get started.
Step 3: Designing Your User Interface
With your project created, you can start designing your user interface. Flutter uses a declarative programming style, which means you describe what you want to see in your UI, and Flutter takes care of the details. To create a new widget, you can use the Widget class and override the build method. For example: class MyApp extends StatelessWidget { @override Widget build(BuildContext context) { return MaterialApp( title: 'My App', home: Scaffold( appBar: AppBar( title: Text('My App'), ), body: Center( child: Text('Hello, World!'), ), ), ); }}
Step 4: Adding Interactivity to Your App
To add interactivity to your app, you can use Flutter’s built-in widgets, such as buttons, text fields, and sliders. You can also use third-party libraries to add more advanced functionality, such as networking and storage. For example, to add a button to your app, you can use the ElevatedButton widget: ElevatedButton( onPressed: () { print('Button pressed!'); }, child: Text('Press me!'), )
Step 5: Testing and Debugging Your App
Once you’ve added interactivity to your app, you can start testing and debugging it. Flutter provides a range of tools to help you test and debug your app, including the Flutter debugger and the Flutter inspector. To run your app on a physical device or emulator, you can use the flutter run command. To debug your app, you can use the flutter debug command.
Step 6: Publishing Your App
Finally, once you’ve tested and debugged your app, you can publish it to the App Store or Google Play Store. To do this, you’ll need to create a release build of your app, which you can do using the flutter build command. You’ll also need to create a keystore file, which you can do using the keytool command. Then, you can upload your app to the App Store or Google Play Store using the respective developer portals.
Common Mistakes to Avoid
When developing a mobile app using Flutter, there are several common mistakes to avoid. One of the most common mistakes is not properly handling errors and exceptions. This can lead to your app crashing or becoming unresponsive. To avoid this, make sure to use try-catch blocks and error handling mechanisms, such as try and catch. Another common mistake is not optimizing your app’s performance. This can lead to slow loading times and poor user experience. To avoid this, make sure to use Flutter’s built-in performance optimization tools, such as the debugPaintSizeEnabled property.
Tips and Tricks
Here are some tips and tricks to help you get the most out of Flutter: Use the flutter pub command to manage dependencies and packages. Use the flutter doctor command to diagnose and fix common issues. Use the flutter analyze command to analyze your code and identify potential issues. Use the flutter format command to format your code and make it more readable.
Frequently Asked Questions
What is Flutter?
Flutter is a cross-platform framework developed by Google that allows you to build natively compiled applications for mobile, web, and desktop from a single codebase.
Is Flutter free?
Yes, Flutter is free and open-source. You can use it to build commercial applications without paying any licensing fees.
Can I use Flutter to build web applications?
Yes, Flutter can be used to build web applications. You can use the flutter web command to create a web application.
Conclusion
In conclusion, developing a mobile application using Flutter is a straightforward process that requires some basic knowledge of programming concepts and a willingness to learn. By following the steps outlined in this guide, you can create a high-quality mobile app that runs on both Android and iOS devices. Remember to avoid common mistakes, such as not properly handling errors and exceptions, and use tips and tricks, such as the flutter pub command, to get the most out of Flutter. Happy coding!
Photo by William Hook on Unsplash


